
Last updated November 21, 2026
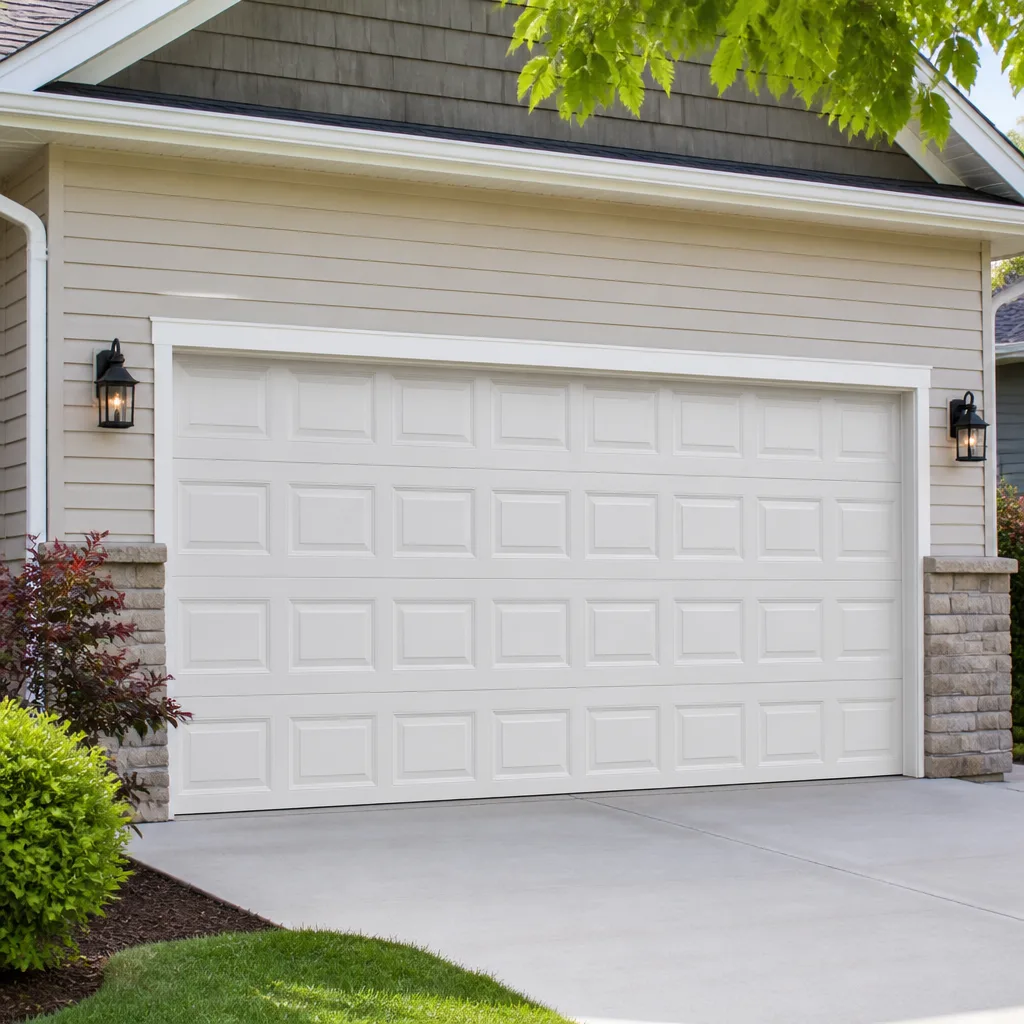 Raised-panel steel
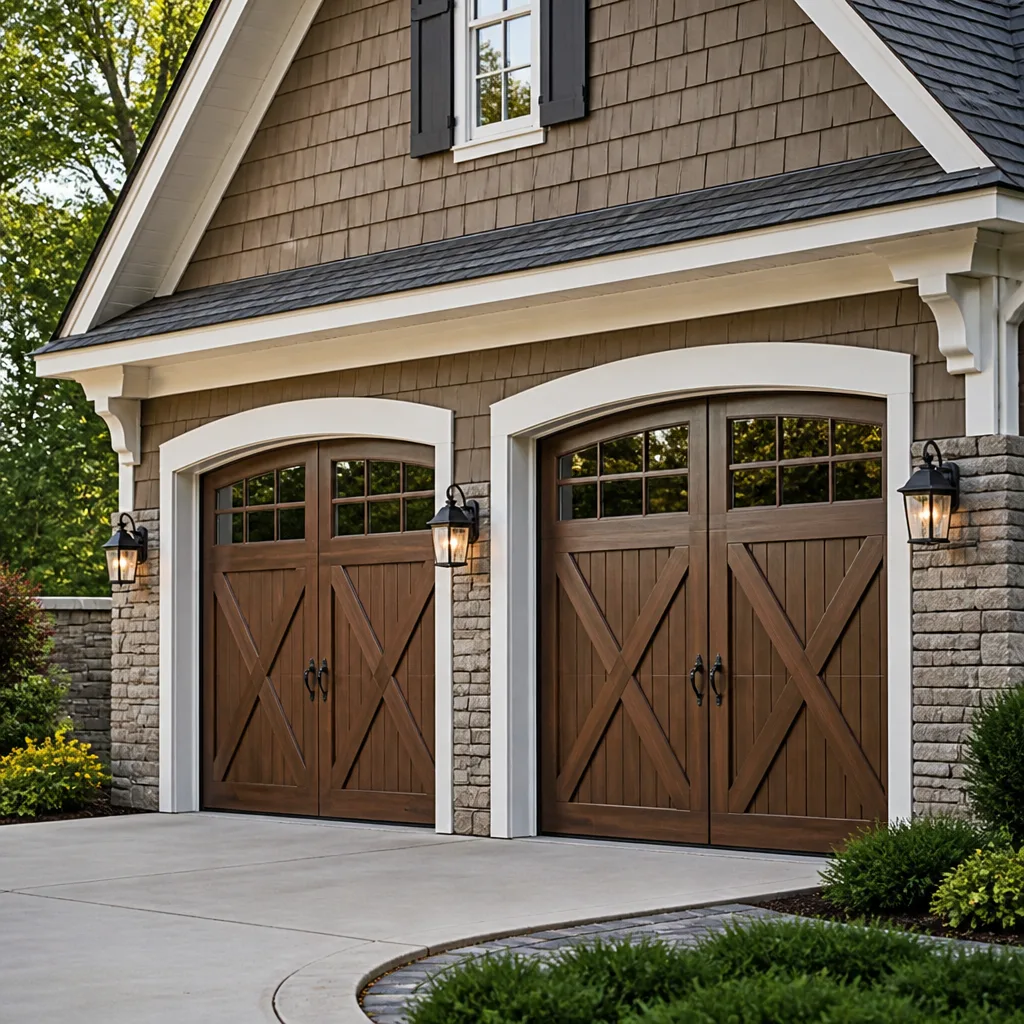 Carriage house
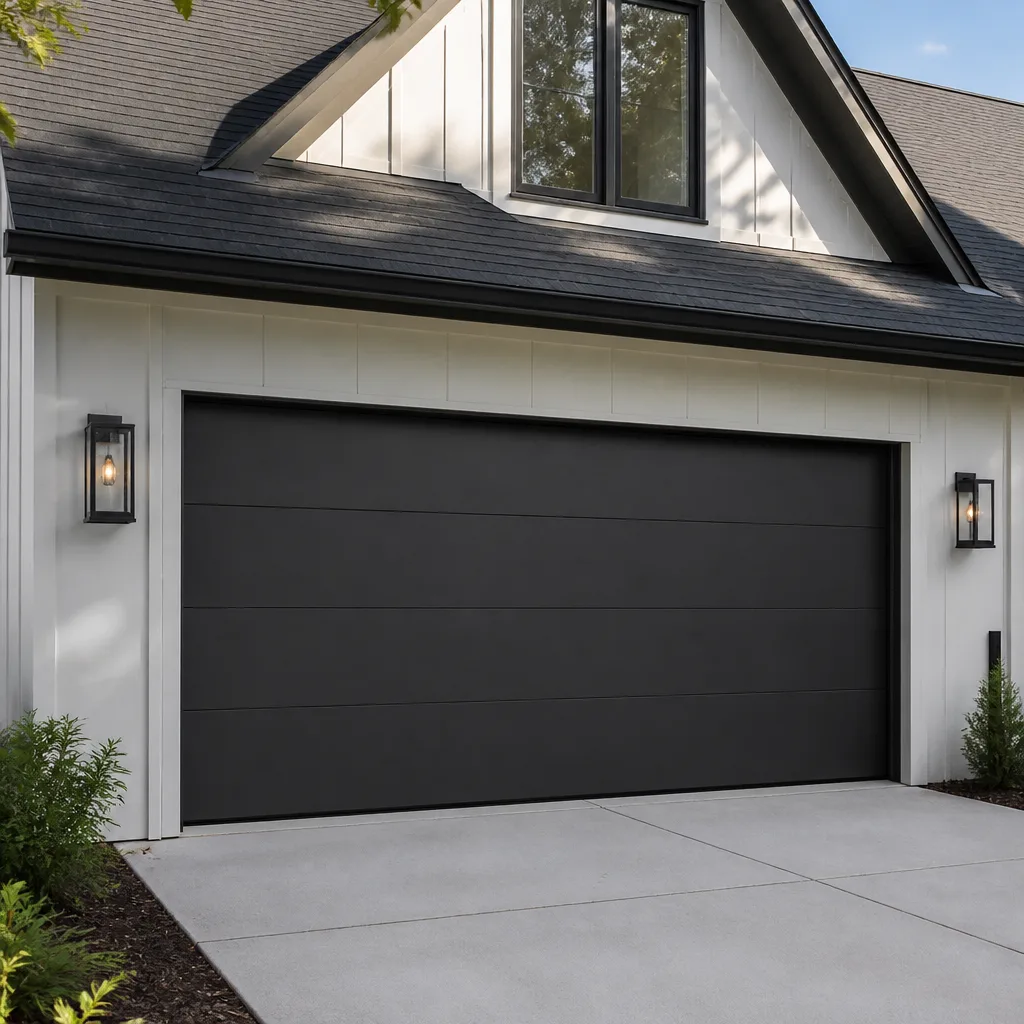 Modern flush
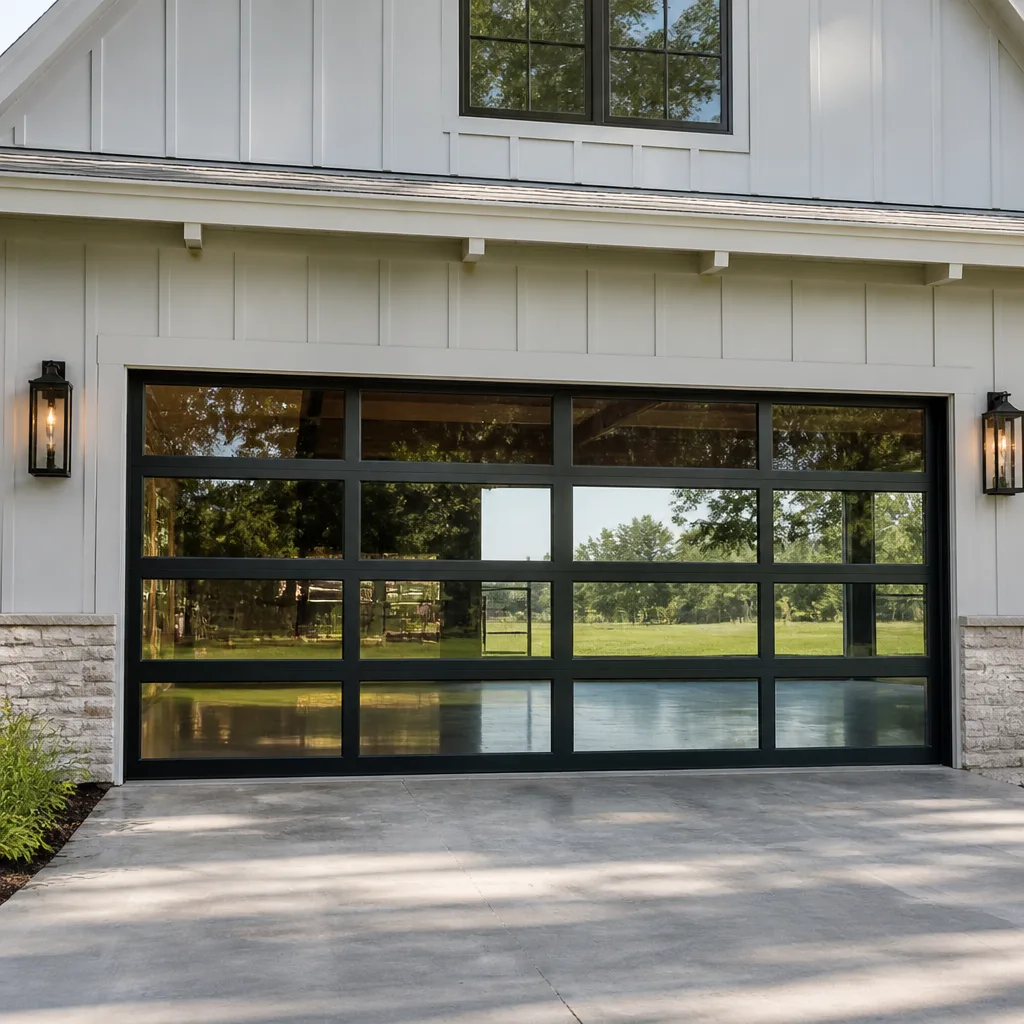 Full-view glass
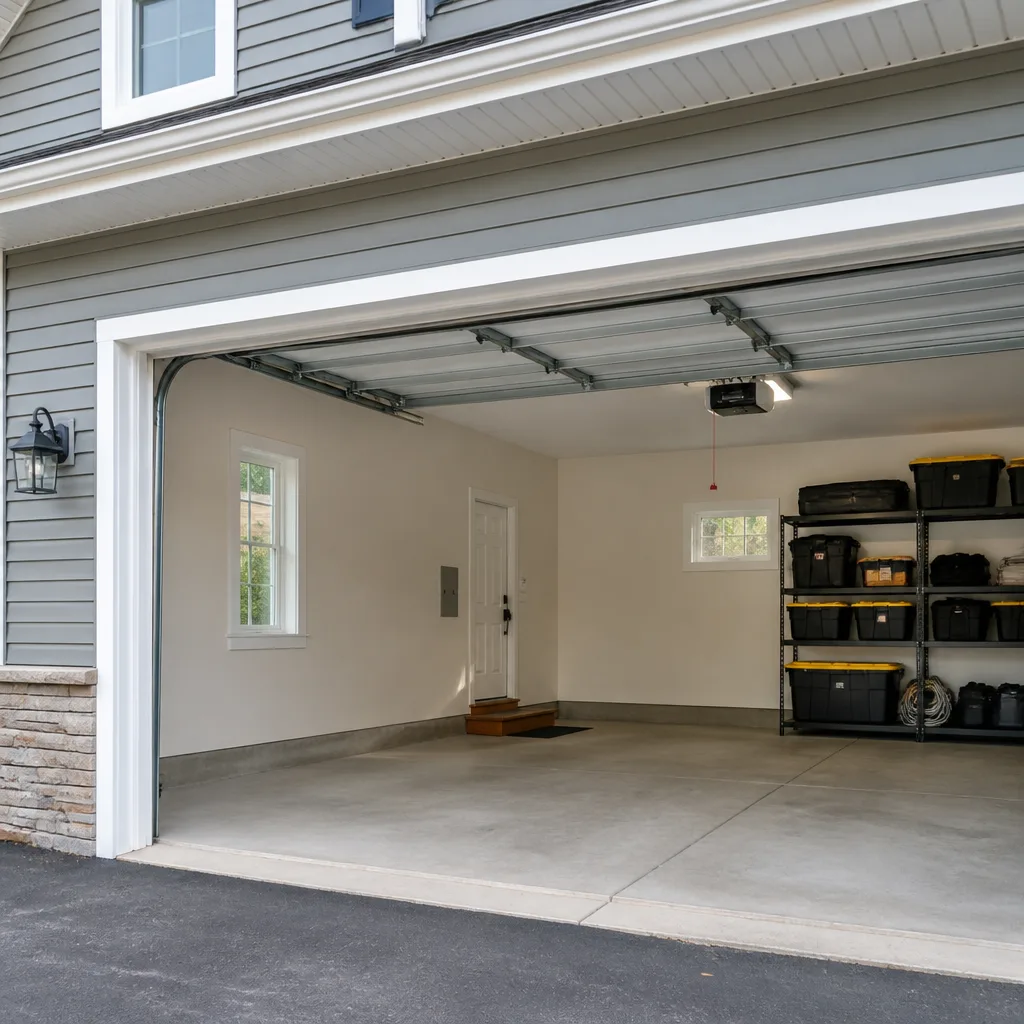 LiftMaster openers
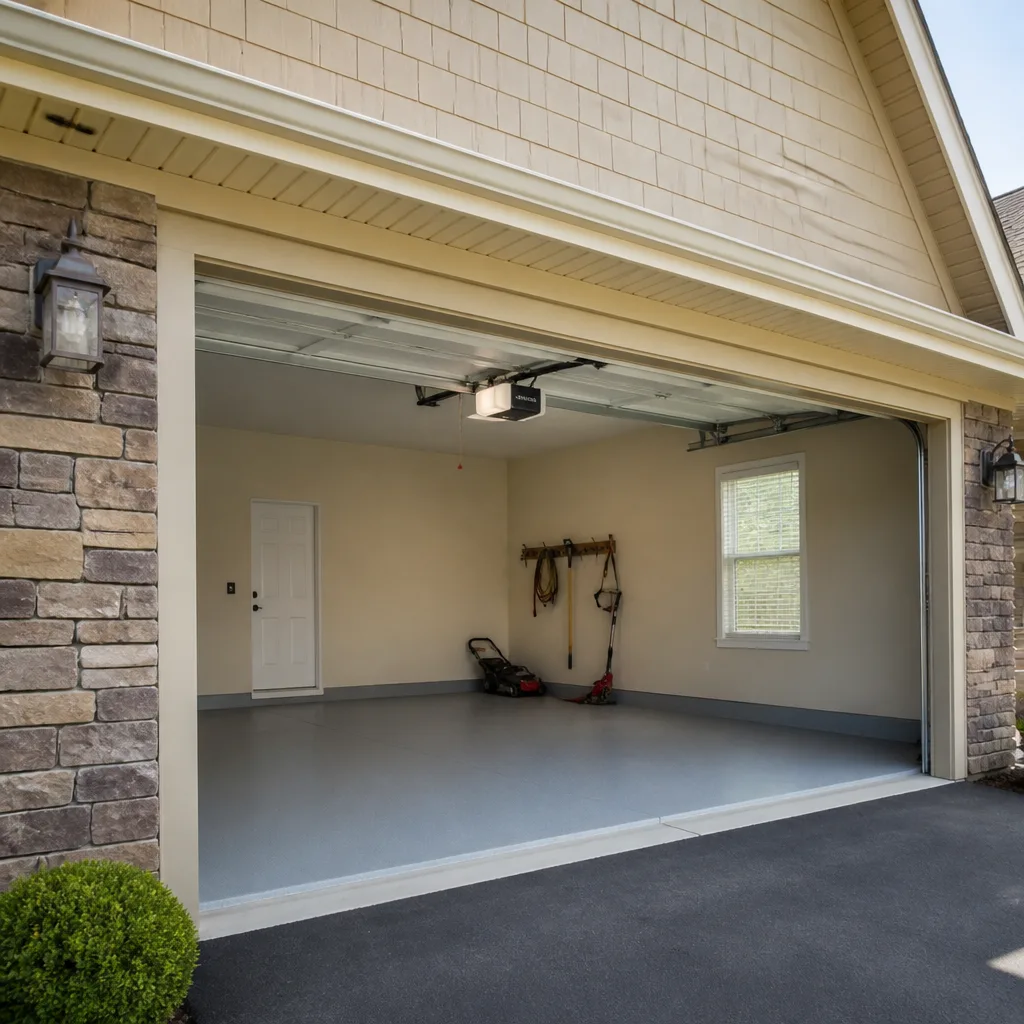 Chamberlain openers
Full 25-point door and opener safety check with every visit - springs, cables, rollers, tracks, and your LiftMaster or Chamberlain opener included
You get a price before we start. It does not change when the pro arrives.
Get your free estimateGarage Door Repair Maintenance Checklist for Hampton Homeowners
Most garage door maintenance checklists get copied from a manufacturer’s generic PDF and handed out like a script. They treat every door the same, in every climate, and they put “lubricate all moving parts” at the top of the list with no thought to what actually fails first. That approach misses the point. The failures we see most often in Hampton aren’t the ones a generic handout ranks highest, and a few of them get worse in ways most homeowners never think to check. This guide ranks the tasks by what actually breaks here, tells you which jobs are safe to handle, which need a professional, and where the line sits between normal wear and a real problem.
Quick Answer
Check and lubricate the rollers, hinges, and torsion spring assembly every few months, and adjust your opener’s travel limits as temperatures shift between January cold and August heat. Test the auto-reverse and photo-eye safety features monthly, and look at your cables and bottom seal at the same time. Anything involving a frayed cable, a bent track, or a broken spring is a professional job and should never be a weekend DIY project.
Styles & brands we work with
- Raised-panel steel
- Carriage house
- Modern flush
- Full-view glass
- LiftMaster openers
- Chamberlain openers
Table of Contents
- The Ranked Checklist: What Breaks First in Hampton
- Lubricating Without Doing Damage: What to Use and What to Skip
- Testing Auto-Reverse and Photo-Eye Alignment Without Special Tools
- Seasonal Adjustments for Hampton’s Temperature Swing
- Do It Now vs. Call a Tech: Setting Your Thresholds
- Cables and Springs: What to Watch For and What to Leave Alone
- Opener Maintenance for the Brands You Actually Own
The Ranked Checklist: What Breaks First in Hampton
Here’s a cleaning task list most homeowners could knock out on a Sunday morning. That’s not the list we’re building. This one is ordered by how often each failure sends a technician out in Hampton, so the tasks at the top are the ones most likely to matter in your house first.
1. Bottom seal deterioration. This is the single most common preventable issue we see. The rubber seal at the bottom of your door takes the most contact and the most wear. When it hardens and cracks, you get a visible gap that lets heat in, moisture in, and pests under the door. Walk outside and look at the bottom of the closed door from ground level, not from eye height. A seal that’s stiff enough to resist a thumb press has likely aged out. That’s a replacement job, not a repair, and it’s inexpensive to handle.
2. Stiff or seized roller bearings. Rollers are small parts doing heavy work. When the bearings inside them dry out, the door starts to run louder, and the opener has to work harder to move the door. A stiff roller is also a wear point on your track. Push the door up by hand a few inches and listen. A steady grinding rumble usually points at rollers, not the opener.
3. Misaligned photo eyes. The small sensor lenses mounted near the bottom of your tracks, one on each side, are easily nudged by cars, trash cans, or kids. When they drift out of alignment, your door turns around and reverses mid-travel or refuses to close at all. This is a frequent call because it mimics a serious opener failure when it’s really just an alignment issue.
4. Uneven door travel and binding. A door that lifts smoothly on one side and hangs on the other points at rollers, a bent track section, or a spring that’s lost tension. If it’s binding, testing it by hand is safe. Folding a broken spring into the list of things to try yourself is not.
5. Excess noise and vibration. Some door noise is normal. A new, rough clatter or a heavy thud at the top of travel should get attention. When it comes to identifying which sound means what, it’s often easier to describe it to a technician than guess. That’s one of the reasons we answer questions before booking a visit.
Which brings us to what you actually do with this list. When we walk a door through a maintenance visit, we typically work it in this order: check the seal, then the rollers, then the photo eyes, then test the door by hand, then listen at the top of the run. It’s fast, and the order matters because each check tells you whether the next one is worth doing.
Lubricating Without Doing Damage: What to Use and What to Skip
The single most common maintenance mistake we see isn’t skipping lubrication. It’s using the wrong product on the wrong part. Many homeowners reach for WD-40 because it works on most household squeaks, and it does quiet a door for a few weeks. Down the road, it does the opposite of what you wanted.
WD-40 is a solvent-based water displacer, not a long-term lubricant. It dries out and leaves metal bare. On rollers and hinges that’s an annoyance. On anything exposed to moisture, bare metal is where corrosion starts. It also strips away whatever grease the factory applied, so you end up with a part that’s drier than when you started.
What to use instead, and where:
- Rollers and hinges: a garage door or white lithium grease applied sparingly. A little goes a long way, and too much attracts dust and grit into the bearing. If a roller’s bearing is already seized, lubrication won’t save it. It should be replaced.
- Track surfaces: nothing. Don’t grease the tracks. The rollers are meant to ride on clean steel. Grease on the track collects debris and can make the door bind.
- Torsion spring assembly and bottom brackets: a professional task, not a homeowner one. On doors installed in Hampton’s climate, the fasteners inside the spring assembly are commonly the first part homeowners damage by trying to clean or grease them without knowing where the tension lives.
- Opener rail and chain: some chain-drive openers (many older Craftsman units, and some Raynor setups) want a light application of chain lube. Belt-drive openers don’t. Check the manual for your specific opener before touching the rail.
- Photo-eye lenses: a microfiber cloth and a little water. No solvent, and nothing spray-on. If you’re not sure what’s safe on your specific hardware, ask before applying anything.
The rule is simple. Any smooth-moving metal that carries load and isn’t a rail surface takes grease. The track stays bone dry. The spring assembly belongs to the technician.
Testing Auto-Reverse and Photo-Eye Alignment Without Special Tools
Your door has two independent safety systems. One is the contact reverse, which kicks in when the door hits something on its way down. The other is the photo eye, which reverses the door when anything breaks the light beam between the two sensors. Both need to work, both need to be tested, and both can be checked in a few minutes without a single tool.
Testing auto-reverse
This is the classic “put something flat in the middle of the doorway” test, and it works. Here’s how to do it right:
- Open the door fully, then close it with the wall control while you stay in the garage.
- As the door descends, lay a flat board or a rolled towel directly under the middle of the door, on the floor.
- Watch the door hit the object. It should reverse and open again immediately.
- If it stops without reversing, or worse, keeps going and crushes the object, stop using the opener for anything but manual operation, and call a technician. An opener with a failed reverse function is a safety hazard, not an inconvenience.
Modern openers made by LiftMaster and similar brands usually have a force adjustment dial or setting on the motor housing. Older units sometimes use a set of small adjustment screws. Don’t fiddle with these by trial and error. If your test fails, get it looked at.
Testing photo eyes
- Stand in the garage with the door fully open.
- Cross your hand through the path of the beams. Both indicator lights on the brackets should be solid, not blinking. Blinking on one side is a missed alignment every time.
- Block the beam with your leg while closing the door from the wall control. The door should reverse immediately, before contact.
- If the door doesn’t reverse, or if one sensor’s light is off or flickering, check alignment first. Are the lenses pointing roughly at each other? Is anything dangling in between (a broom handle, a cable, a spider web)?
If alignment seems fine and the door still won’t behave, the sensors or the wiring between them have an issue. That’s a fifteen-minute professional check and never worth guessing at.
Seasonal Adjustments for Hampton’s Temperature Swing
Hampton goes from January overnight lows that regularly drop into the twenties and thirties to August highs well into the upper eighties. That’s a forty-plus degree swing twice a year through every piece of your door. Wood swells and shrinks. Steel expands and contracts. The springs that carry the door’s weight change their tension. The seal at the bottom of the door changes its shape entirely.
Most of the seasonal adjustment work isn’t done on the door. It’s done on your opener’s travel limits.
Two months to check every year
Late winter, after the coldest stretch, and midsummer during the hottest run of weeks. Those are the two points where temperature-driven changes are most likely to have pushed your door out of spec. If your door was running clean in November and the opener is straining in February, the door weight has changed due to temperature and your travel limits need a small adjustment.
What to check each season:
- Travel limits: the door should reach the floor firmly without crushing the seal, and open fully without hitting the top of the opening. If the door stops short or over-travels, the opener’s travel limits are set slightly wrong for the current door weight. A professional can reset these correctly, and so can a homeowner following a specific brand’s manual for something like a Chamberlain or Genie unit.
- Bottom seal compression: in August, the rubber is soft and compresses easily. In January, it’s stiff and it barely touches the floor. If your seal is showing a visible gap at the corners in winter, you may want to look at the seal itself and how it’s mounted.
- Track alignment: steel tracks that mounted cleanly in cool weather can bow slightly when summer heat expands the metal. If the door binds or hesitates only in summer, that’s the likely culprit.
- Opener force setting: if your door needs to be pushed up by hand to get started in the cold, or refuses to go all the way down, the force setting is probably set for warmer weather and dropping below the threshold.
The two seasonal check-ins take ten minutes each. They cost nothing and save the kind of call that turns into a whole afternoon.
Do It Now vs. Call a Tech: Setting Your Thresholds
Most homeowners fall into one of two camps. Some ignore a problem for a year that they should have handled in a week. Others panic over normal door noise and worry their opener is on its last leg when it’s just doing what it’s supposed to do. Here’s how we sort the two.
Call a technician now (not next month):
- A cable with visible fraying, kinks, or broken strands. Inspect the cables that run from the bottom corners of the door up along the tracks. Any visible damage is a stop-using-the-door situation.
- A door that’s uneven at the bottom when closed. One side touching, one side floating. That’s a spring or cable issue and pushing the door up and down will make it worse.
- An opener that reverses partway down, or stops cycling entirely. That means the auto-reverse safety test fails, and the door isn’t safe to operate with the motor.
- A door that’s come off its track. Even a partial dismount can cause the door to fall.
- A visible crack or break in any spring. A broken spring is not a repair, it’s a replacement, and never a DIY job. See the next section.
Safe to handle on your own:
- Roller noise and hinge squeaks that go away with proper grease. If the door runs smoothly, quieter grease is all it needs.
- A door that doesn’t quite seal at the bottom due to worn rubber. Replacing a bottom seal is a homeowner task.
- Photo eyes that have been knocked out of alignment by a car or a child’s bike. Nudge them back and test the beam.
- Occasional opener hesitance in extreme cold. Re-test in warmer weather before assuming the opener is failing.
The threshold rule we give homeowners: if you have to lift, push, or pry the door to get it to move, stop. Motors carry doors. Arms don’t.
Cables and Springs: What to Watch For and What to Leave Alone
These are the two most dangerous parts of a garage door, and also the two most often tackled by homeowners who have watched a video and think it looks manageable. We want to be direct about this. A garage door torsion spring is under heavy tension at all times. It stores enough energy to cause serious injury in an instant. Asking a homeowner to swap one out is asking for a hospital bill.
What a trained technician does when replacing a torsion spring: releases the tension safely, uses bars designed for the job, and rebalances the door so the new spring is matched to the door’s weight. A spring that’s close but not sized correctly can cause the opener to strain, the cable to snap, and a door to come down crooked. On a Wayne Dalton door with its own spring configuration, using the wrong parts is as risky as doing the work yourself.
What to look for as a homeowner:
- Springs: a visible gap in a torsion spring near the middle bracket, or a sagging extension spring over your head. Both mean the spring has failed. Stop operating the door with the opener. The motor will strain and can damage itself. Manually lift the door by hand for a day if need be, but book the repair.
- Cables: frayed strands are the danger sign, not the whole cable. Run your eyes carefully along each cable from the bottom corner drum to the top of the track. Even a small fray is a professional job. A cable that jumps its drum can snap the door off its track with enough force to throw metal across the garage.
- Bottom brackets: any visible damage at the bottom corners, where the cables attach to the door. Do not touch these with tools. They’re under load even when the door is down.
If either the springs or the cables show a problem, close the garage and call. Any reputable technician will tell you the same thing. Spring repair done safely is worth the cost of a real visit. For the full picture of what a repair visit actually involves, see our garage door repair services.
Opener Maintenance for the Brands You Actually Own
Most openers on Hampton doors are made by a small handful of brands, and each has its own maintenance pattern. Knowing which one you own means you skip the guesswork.
- LiftMaster and Chamberlain: these two share most of their platform, so advice for one usually applies to the other. If your opener has a WiFi module or app-connect feature, the firmware occasionally needs updating. If your MyQ or app-connected unit is running oddly, check for that first. Belt-drive units are quieter and lower-maintenance than chain-drive units. Chain-drive units want light chain lubrication. For anything deeper, see our garage door opener repair page.
- Genie: many Genie units use a screw-drive mechanism, which wants a different lubrication pattern than chain or belt drives. Follow the manual for yours. Screw-drive openers need more attention to the rail than most people give them.
- Craftsman: very common on older Hampton homes. If you’re still running a Craftsman opener from many years ago and it hasn’t been serviced in a while, it’s worth having the force and travel settings checked. Older openers drift out of adjustment gradually.
- Raynor: Raynor’s openers usually come paired with Raynor doors, and the rail travel is tuned to that specific door weight. If you’ve replaced the door or a spring, the opener may need to be recalibrated to the new weight.
Whichever brand you have, the annual routine is the same: confirm the safety tests still pass, listen at the top of the reach for a clean stop with no rattle, and check that the manual release cord is in good condition and pulls cleanly. If the opener is running but the door isn’t, or it reverses on its own, the problem could be an opener setting, a sensor, or a mechanical issue with the door itself. Our technicians are factory-familiar with the major opener and door brands, so the diagnosis rarely takes more than one visit. If you’re replacing the opener or the door, our garage door installation service covers that separately.
Common Mistakes to Avoid
- Greasing the tracks. This is the single most common maintenance error. Tracks are supposed to be dry. Grease on a track collects grit and can make the rollers bind. Clean the tracks instead.
- Using WD-40 as a long-term lubricant. It will quiet a door for a couple of weeks. It leaves metal drier than it was after that, especially on any part exposed to Hampton’s humidity. Use white lithium or a specialist door grease instead.
- Adjusting force settings by trial and error. If you turn up the force to get a sluggish door to close, you’ve masked a mechanical problem that will damage the door and the opener. A door that’s slow to close needs diagnosis, not a stronger motor.
- Ignoring small signs of cable wear. A slightly frayed cable doesn’t get better on its own. It gets worse. And it can snap while the door is in motion. Call a technician when you first see fraying, not after you hear the snap.
- Treating normal door noise as a crisis. A door makes noise. A door that thumps or shudders at the top of travel has a problem. Running through a light lubrication routine before panicking is worth doing.
- Skipping the photo-eye alignment check for months. Sensors drift out of alignment easily in a busy household. A monthly check takes two seconds and prevents the most common “the door won’t close” call.
- Trying to swap a spring yourself. This is the one task that should never be on a homeowner list. The energy stored in a garage door torsion spring is enough to cause serious injury if released unexpectedly. Spring repair belongs to a trained technician.
See the difference
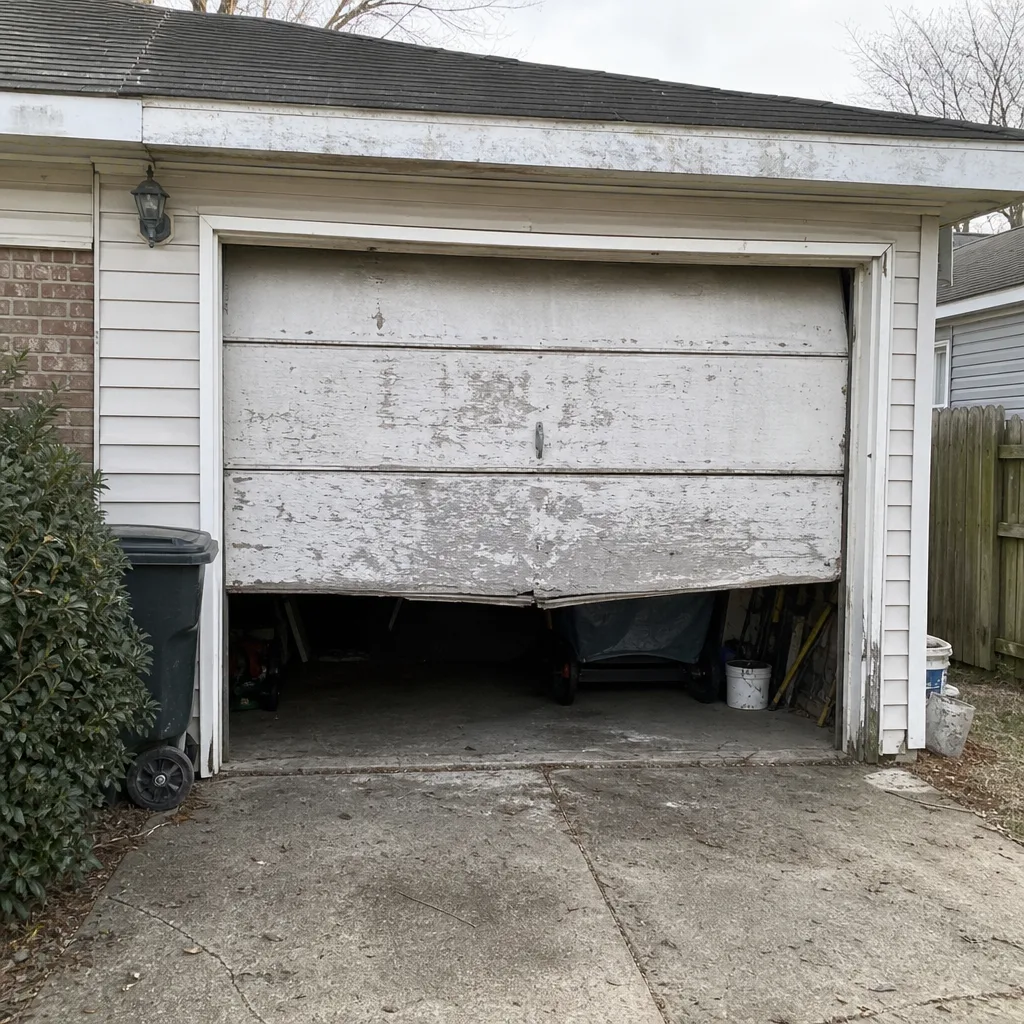 Before
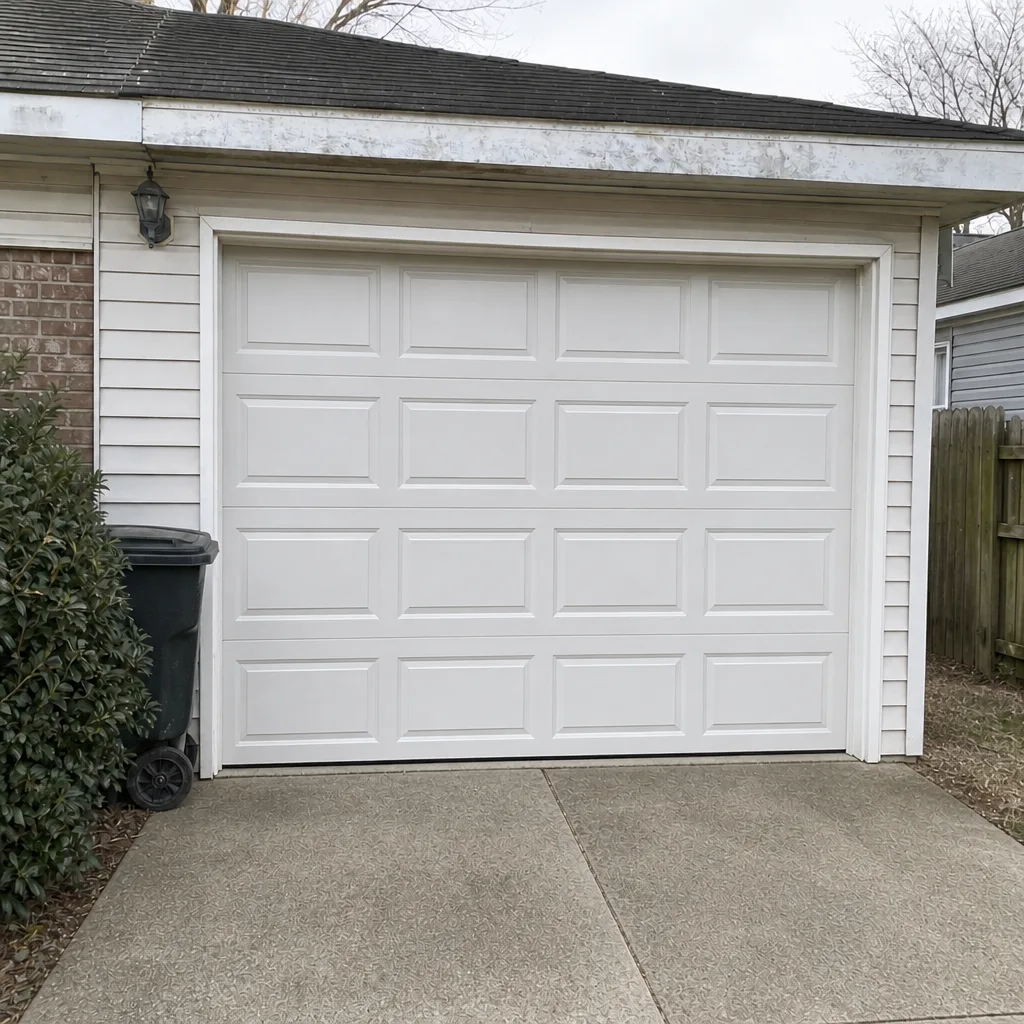 After
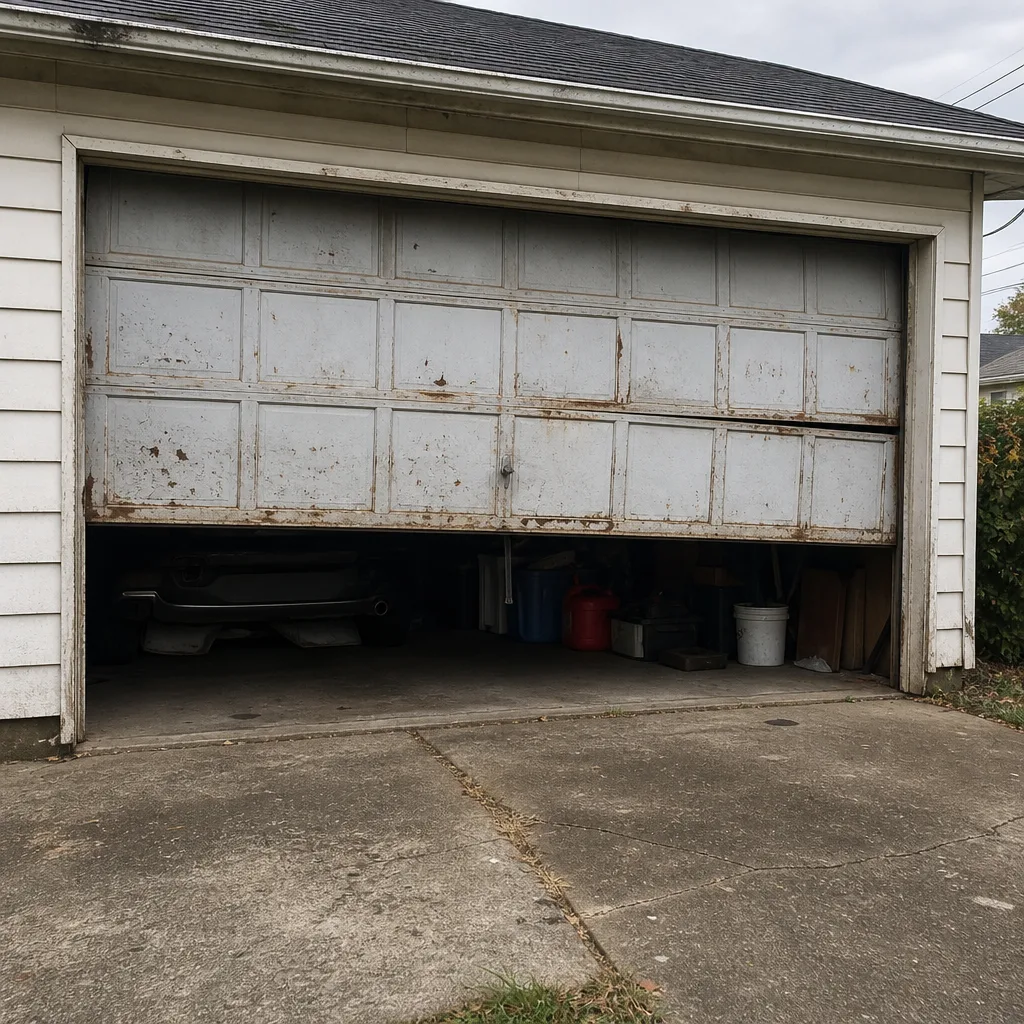 Before
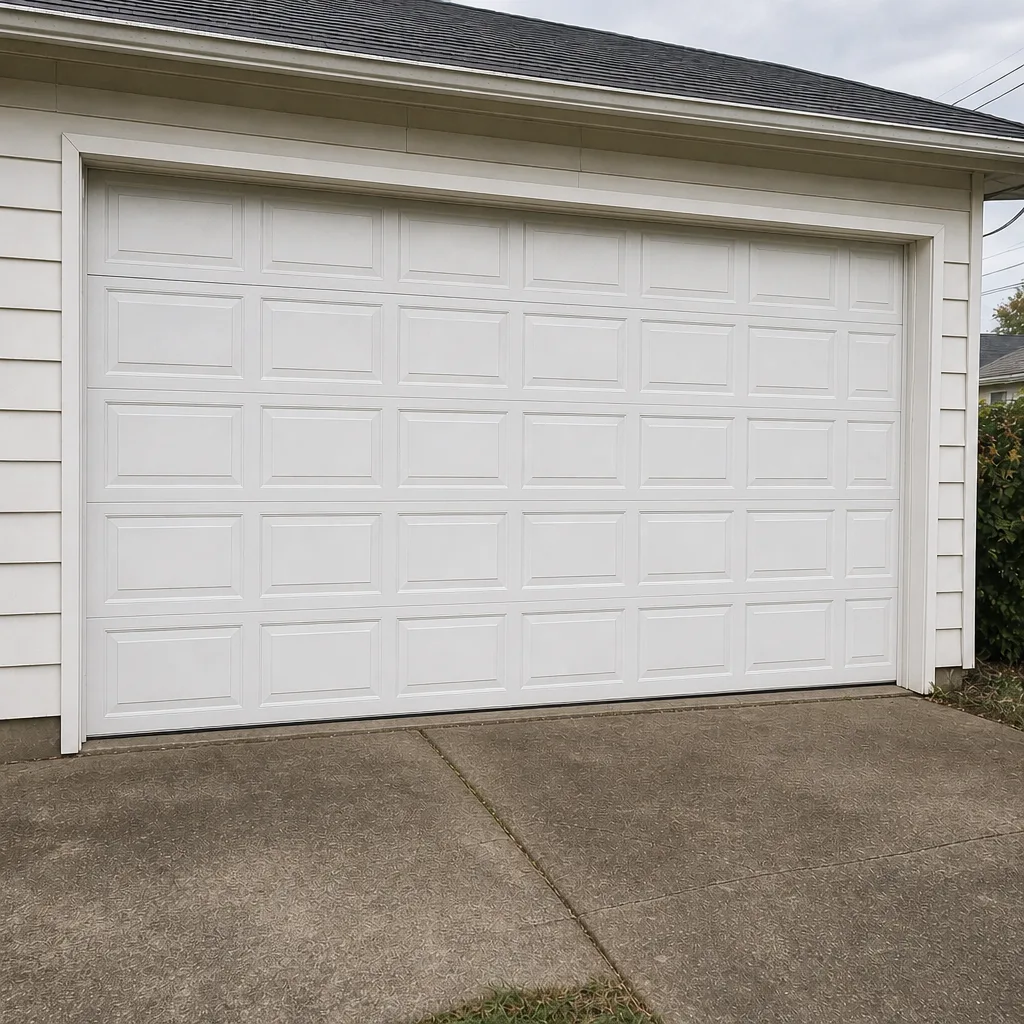 After
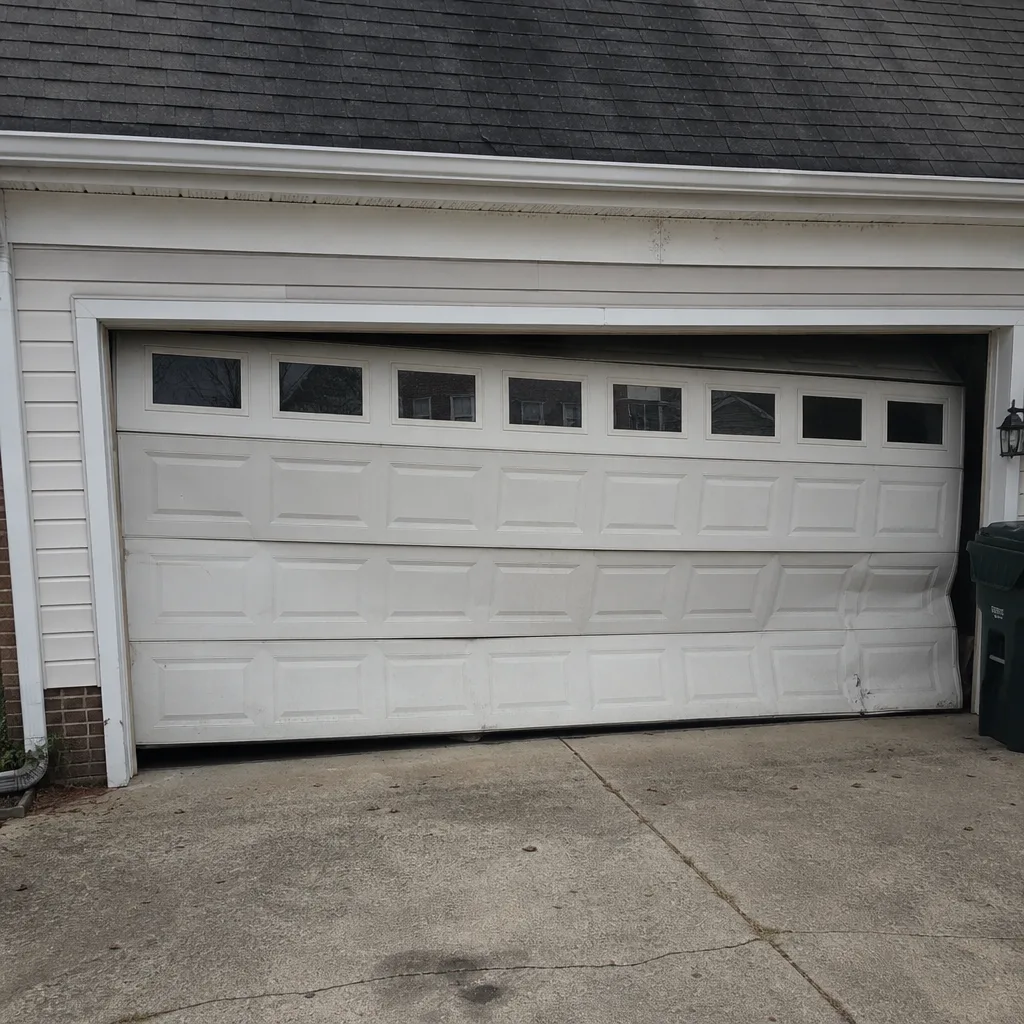 Before
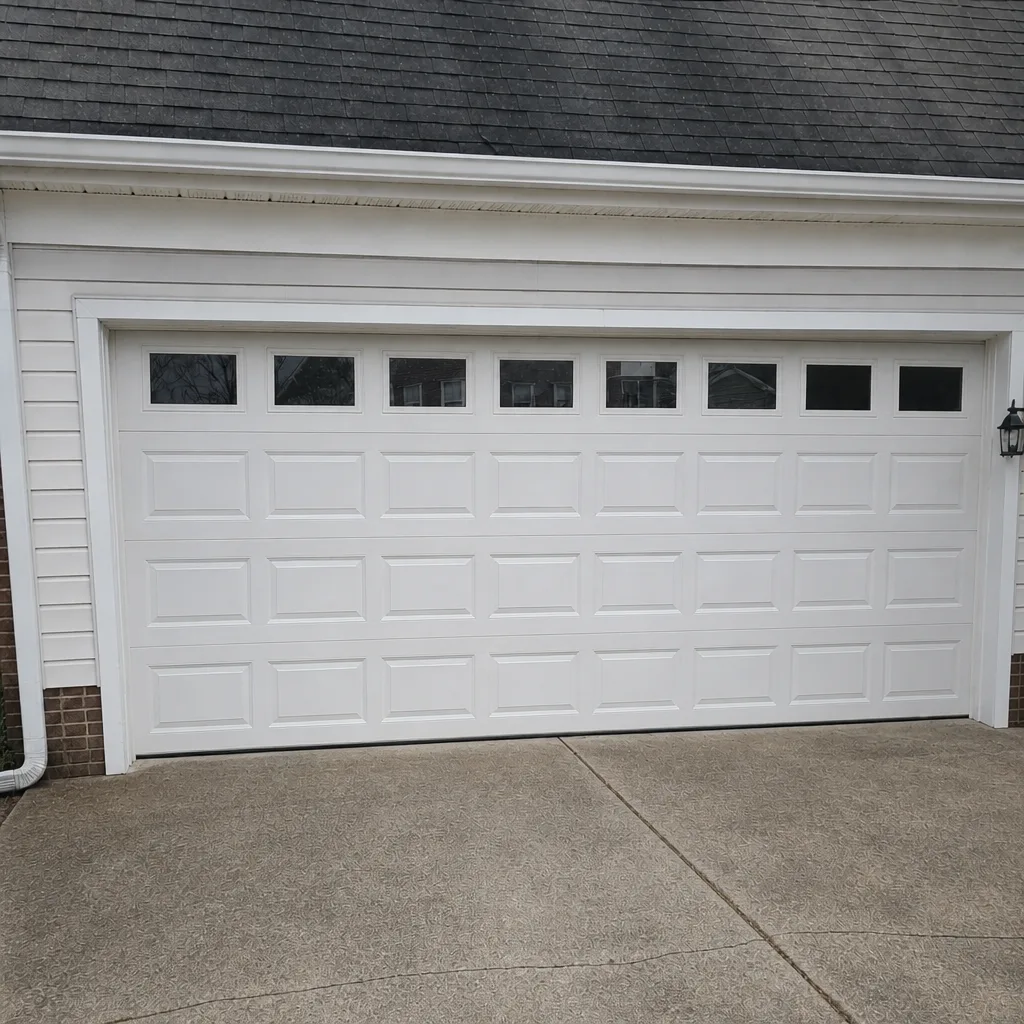 After
When to Call a Professional
You should call a professional when the problem is mechanical and involves load-bearing parts, safety systems, or anything you can’t safely test by hand. Broken springs, frayed cables, a bent track, a door off its rollers, an opener with a failed reverse function, a door that won’t stay up on its own, or a door that shakes hard at the top of travel. What you don’t need to call about: a noisy hinge, a worn bottom seal, or a photo eye that’s been knocked out of alignment. Those are homeowner jobs. For anything that’s a “stop operating the door until someone looks at it” situation, reach out and we’ll get you booked. Hampton Garage Door Repair Pros offers free estimates in Hampton. Call (833) 842-4783. We answer 24/7, with fast dispatch from 7am to 7pm, Sunday through Friday.
If you need emergency help, just say so when you call. Hampton Garage Door Repair Pros has a dedicated emergency garage door service for exactly these cases. A door that fails and won’t close, or won’t lock at the end of the day, is the kind of thing that shouldn’t wait until tomorrow. Our technicians have up to 12 years of experience, and they’re trained on the equipment brands most Hampton homes actually have installed.
Frequently Asked Questions
Lubricate the rollers and hinges every few months, test the auto-reverse and photo-eye alignment monthly, and check the cables and bottom seal at every season change. In Hampton’s climate, the biggest seasonal markers are late winter (after the January cold) and midsummer (after the hottest stretch), because that’s when temperature-driven wear shows up. A quick monthly visual check plus those two seasonal deep-checks is enough for most homes.
No, not as a long-term lubricant. WD-40 will quiet a door for a few weeks, but it dries out metal and can leave roller bearings and hinges drier than they started. On parts exposed to Hampton’s humidity, that accelerates wear rather than slowing it. Use a white lithium or garage door grease on rollers and hinges. Keep the tracks dry.
Most of the time, “won’t close” comes down to a photo-eye alignment issue or a failed auto-reverse test. Check that both sensors are showing solid lights, that nothing is blocking the beam, and that the door reverses properly when you block the beams with your leg. If the eye lights are solid and the door still won’t close, the opener or the door itself needs a real diagnosis. Call (833) 842-4783. We answer 24/7. Fast dispatch from 7am to 7pm, Sunday through Friday.
A torsion spring usually has a visible gap or break near the middle bracket, and the door becomes very heavy to lift by hand. An extension spring above the door will show obvious stretching or a broken end. If you suspect either, don’t try to open the door with your opener. The motor will strain and could damage the opener or the door. Call a technician for spring repair. This is not a safe DIY job, even for experienced homeowners.
Usually not. If your door needs more force to move in cold weather, that’s a sign the door has changed weight or the springs are tired, not that the motor needs stronger settings. Boosting force to mask a heavier door damages both the opener and the door over time. Have a technician check the door weight, the springs, and the travel limits during a cold-weather adjustment.
Very likely. We service equipment from LiftMaster, Chamberlain, Genie, Clopay, Amarr, Wayne Dalton, Craftsman, and Raynor. If you’re not sure of your model, mention the brand when you call and we’ll let you know. Our technicians are familiar with the factory settings on these platforms, so diagnosis is usually faster than a generalist’s.
The Bottom Line
A garage door isn’t maintenance-free, and the parts most homeowners skip are exactly the ones that cause the most common failures in Hampton. Prioritize the bottom seal, the roller bearings, and the photo-eye alignment. Test auto-reverse monthly. Adjust travel limits in late winter and midsummer. And leave the cables and springs alone. Those are the tasks where prevention pays off, and DIY doesn’t. If your door is doing something on this list that says “call a tech,” don’t keep running it. Call (833) 842-4783 for a free estimate. We answer 24/7, with fast dispatch from 7am to 7pm, Sunday through Friday. Same-day service is available for many repairs, and the price is quoted and agreed before any work starts.
Written by the team at Hampton Garage Door Repair Pros.