
Last updated November 21, 2026
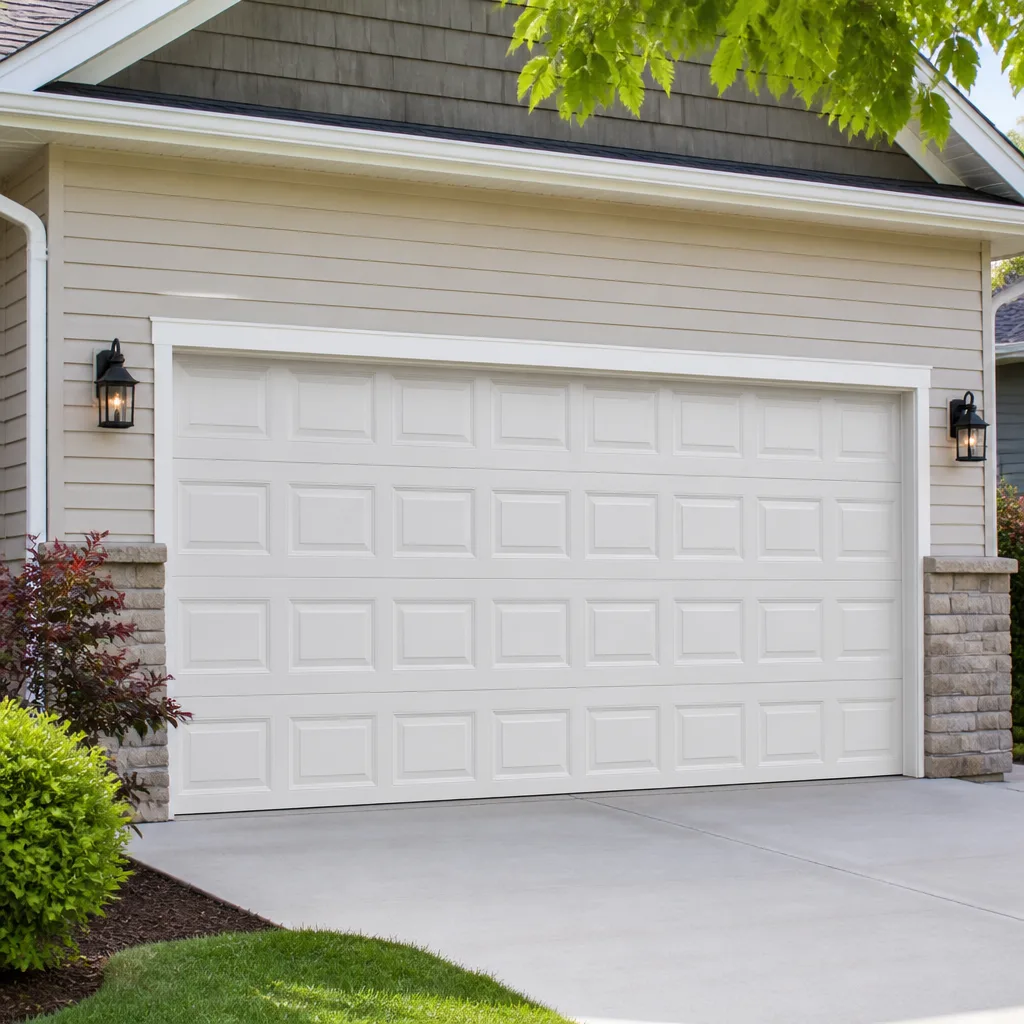 Raised-panel steel
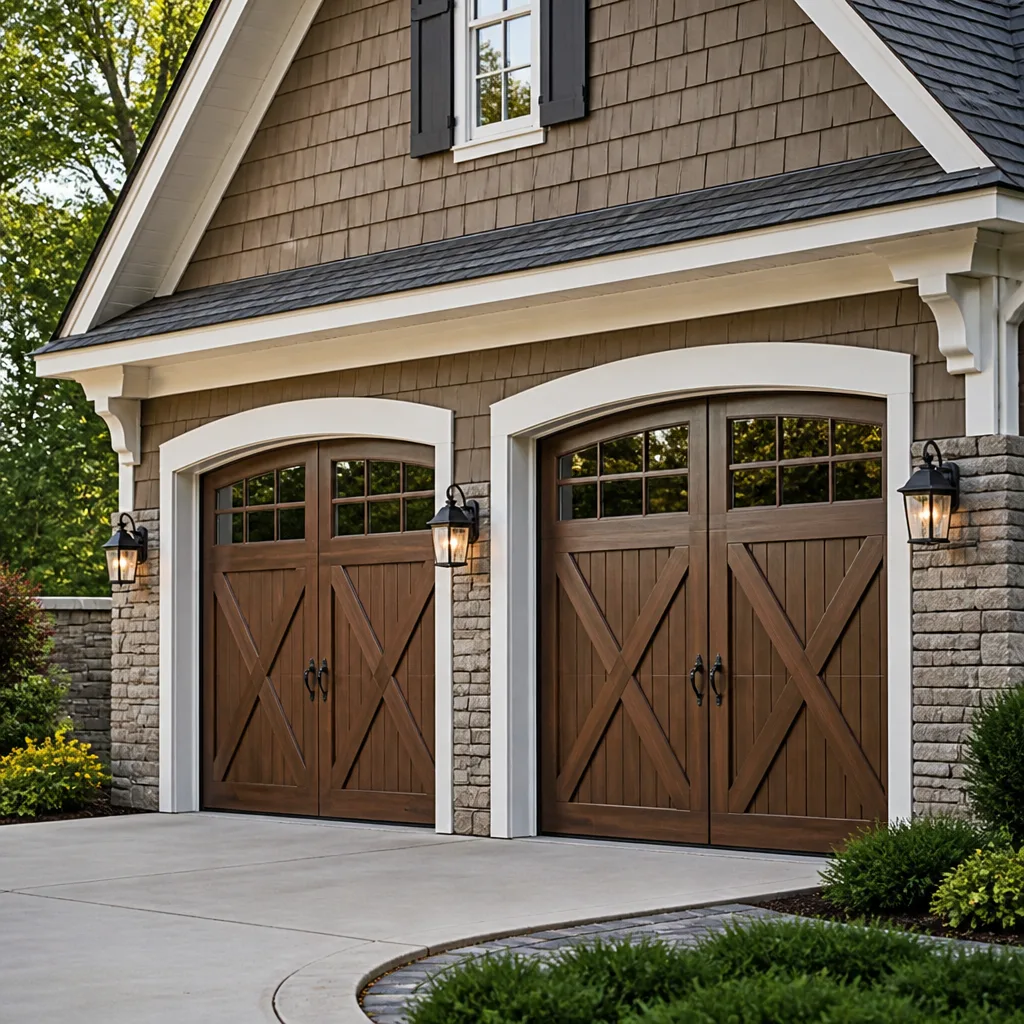 Carriage house
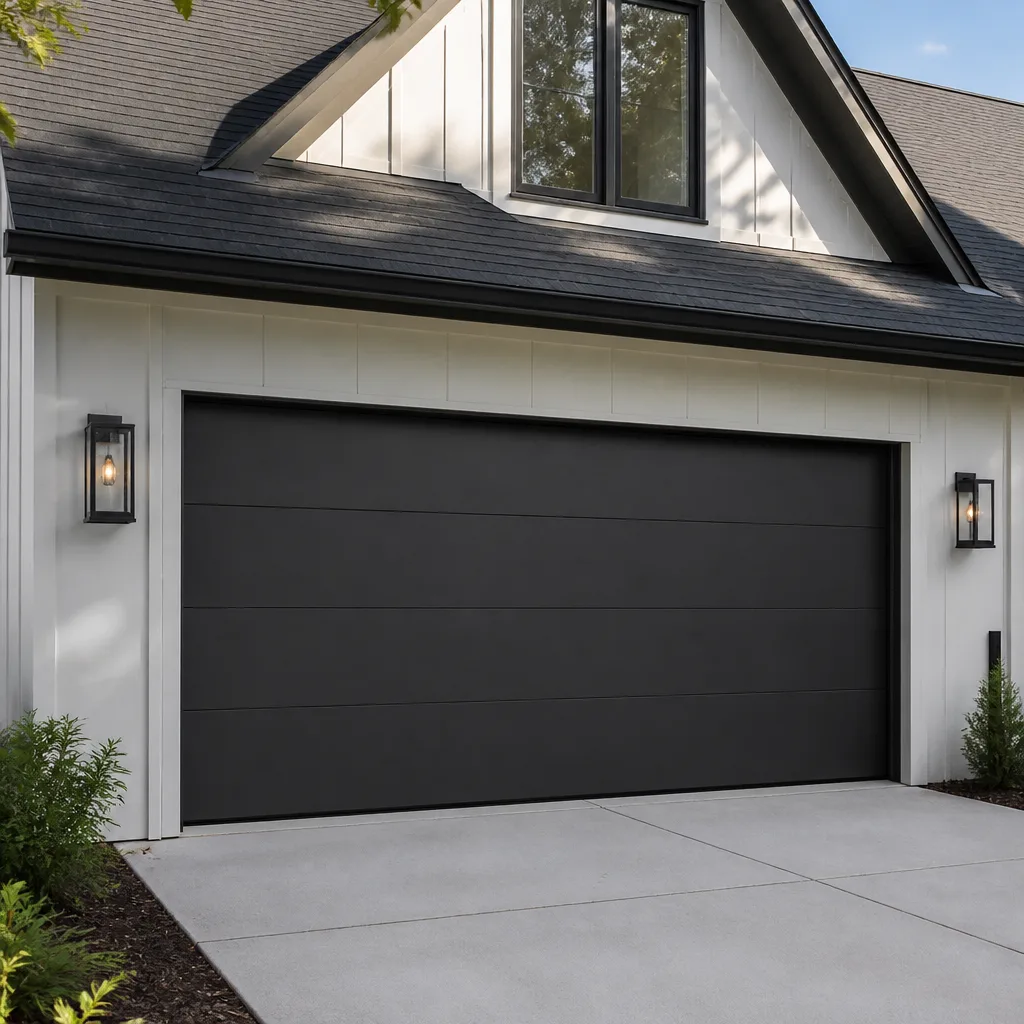 Modern flush
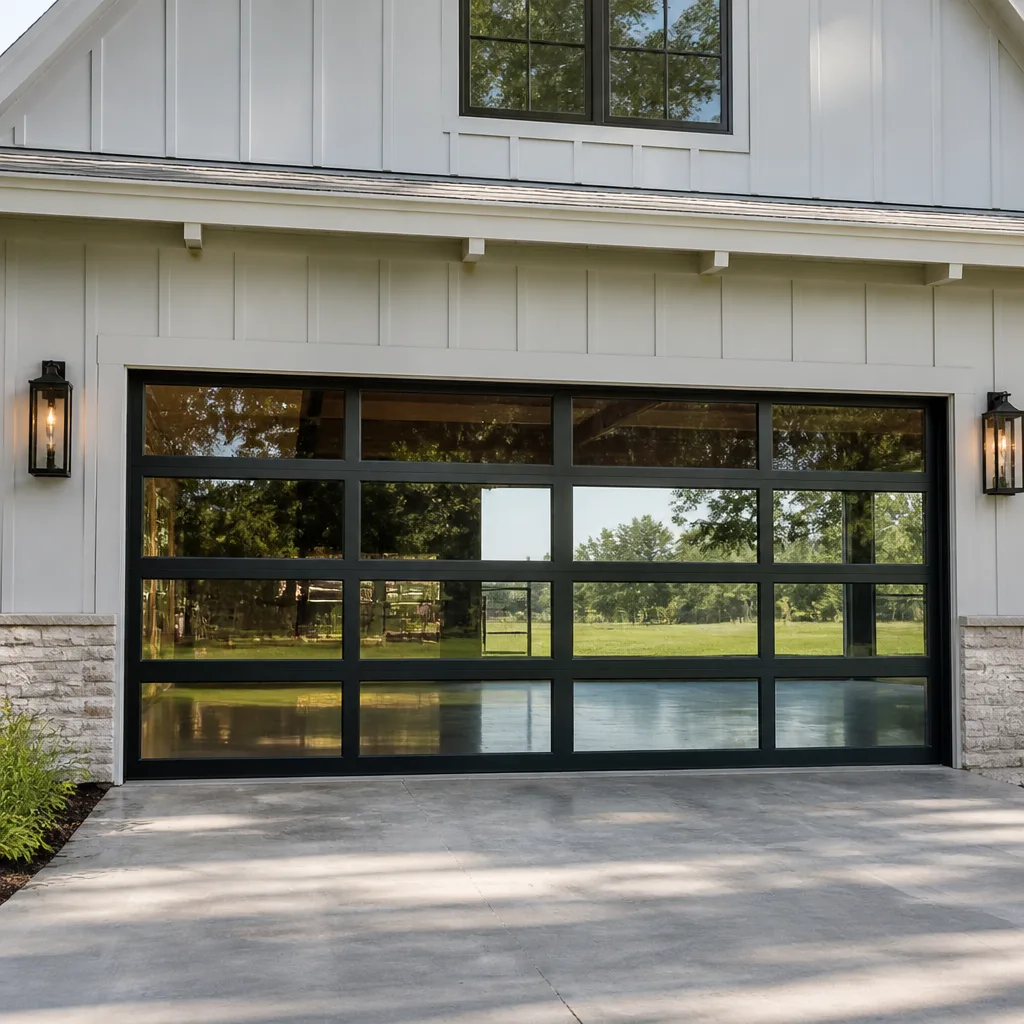 Full-view glass
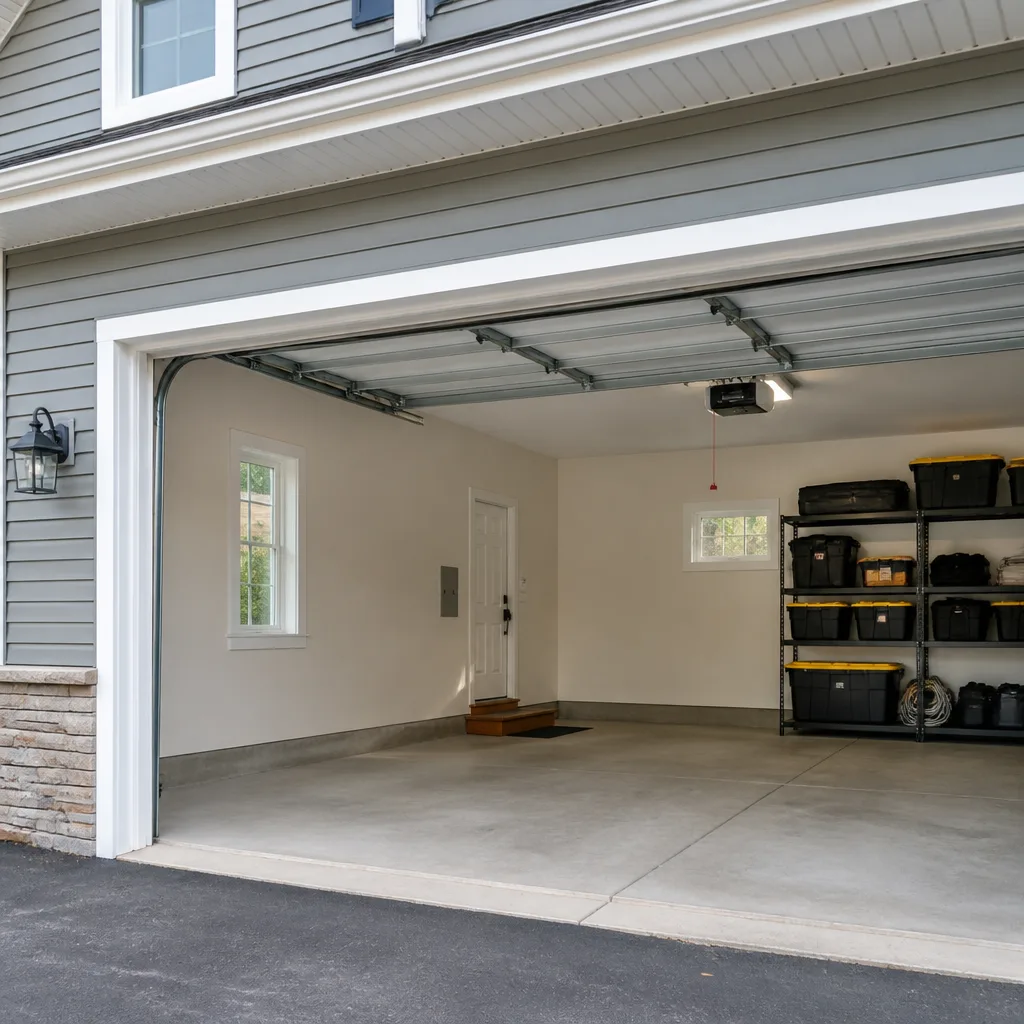 LiftMaster openers
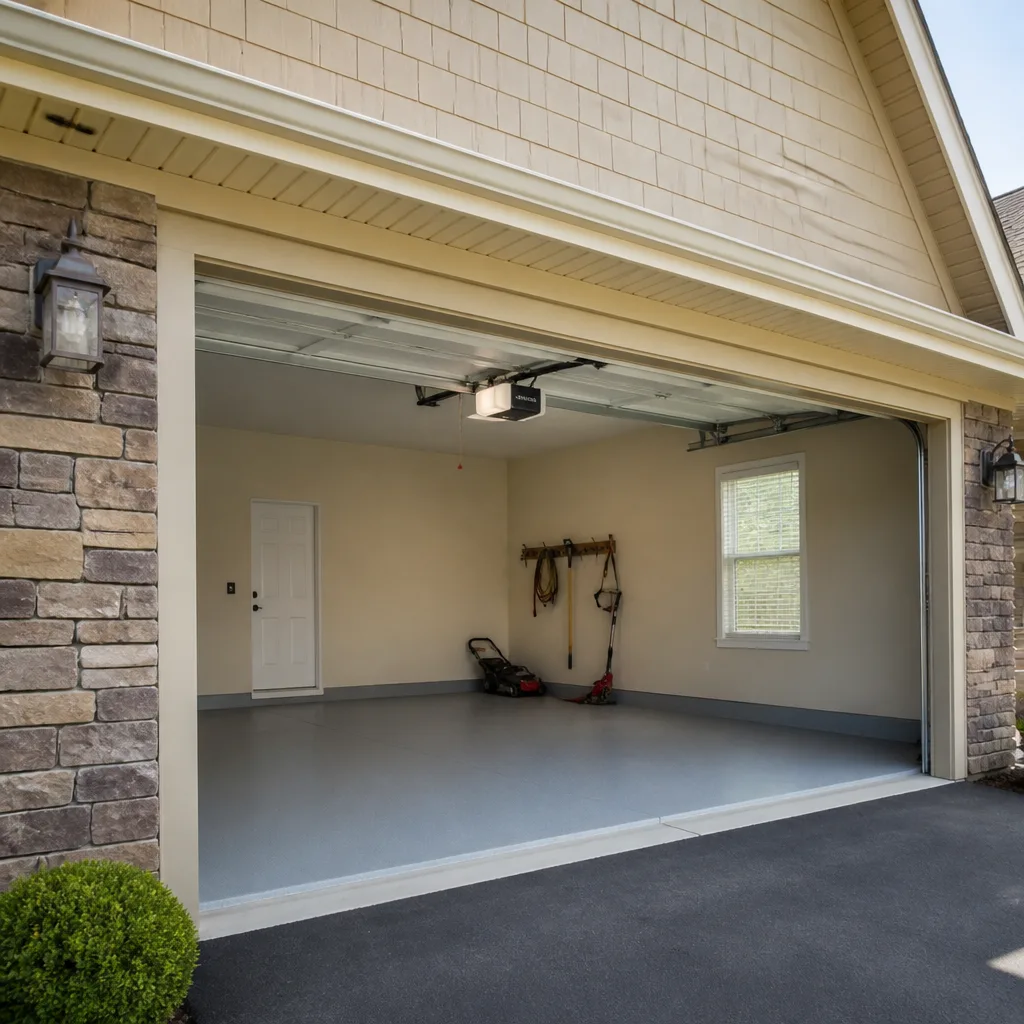 Chamberlain openers
Full 25-point door and opener safety check with every visit - springs, cables, rollers, tracks, and your LiftMaster or Chamberlain opener included
You get a price before we start. It does not change when the pro arrives.
Get your free estimateGarage Door Warning Signs: A Hampton Homeowner’s Reference Guide
Most garage door problems announce themselves long before the door quits. A grind that shows up one morning, a door that reverses for no reason, a cable end that looks a little fuzzy – these are early signals, and almost nobody reads them correctly. Homeowners in Hampton tend to do one of two things: panic over a sound that’s perfectly normal settling, or ignore a symptom that has a hard failure scheduled. This guide sorts every common warning sign into three triage tiers so you know what to watch, what to schedule, and what to stop using the door for right now. We’ll also show you a 60-second inspection you can run from inside the garage.
Styles & brands we work with
- Raised-panel steel
- Carriage house
- Modern flush
- Full-view glass
- LiftMaster openers
- Chamberlain openers
Quick Answer
Garage door warning signs fall into three tiers: stop using the door now (broken spring, frayed cable, door off its track, door that won’t stay down), schedule within 30 days (worn rollers, grinding bearings, opener hesitation, a door that reverses without obstruction), and monitor (minor rattles, slight settling, cosmetic rust on painted surfaces). If you hear a loud bang and the door won’t lift, or see a gap in a cable, stop operating it and call a trained technician. Everything else can usually be booked without emergency urgency.
Table of Contents
- The Three-Tier Triage System
- Tier 1: Stop Using the Door Now
- Tier 2: Schedule Within 30 Days
- Tier 3: Monitor It
- Normal Door Noise vs. Noise That Means Trouble
- What Corrosion Looks Like in Hampton Before It Fails
- Opener Behavior Flags and What They Mean
- The 60-Second Inside Inspection
- Common Mistakes to Avoid
- When to Call a Professional
- Frequently Asked Questions
The Three-Tier Triage System
Not every symptom deserves the same response. A garage door is a balance of springs, cables, rollers, tracks, and an opener pulling against gravity. When one part wears, the load shifts onto the others – and that shift is what you’re hearing and seeing. Sorting symptoms by urgency keeps you from overreacting to a roller that needs replacing and from underreacting to a cable that’s one strand away from letting go.
The tier system works like this:
- Tier 1 – Stop using the door now. Something structural has failed or is about to. Operating the door risks injury, damage to the door itself, or a vehicle. Call a specialist and leave the door where it is.
- Tier 2 – Schedule within 30 days. Something is wearing predictably. The door still works, but the part in question will fail if ignored. Book the repair on your terms rather than at the worst possible moment.
- Tier 3 – Monitor it. Cosmetic or minor. Note it, check it the next time you’re in the garage, and revisit if it changes.
We use this same triage when a technician arrives at a home in Hampton. Rather than a blanket “replace everything” list, the estimate separates what’s genuinely urgent from what can wait. If you’re ever unsure which tier a symptom belongs to, describing it over the phone is usually enough to sort it.
Tier 1: Stop Using the Door Now
These symptoms mean a component has failed or is about to. Every item on this list is a call-today situation, and every one calls for a trained technician rather than a homeowner with a ladder. Torsion springs store a tremendous amount of energy, and cables sit under constant tension. Both can cause serious injury when they let go unexpectedly.
- A loud bang from the ceiling, then the door won’t lift. That’s a broken torsion spring. The door may still open partway if you have two springs and one snapped, which feels less urgent than it is. Stop using it – the remaining spring is now carrying double load and will fail too.
- A visible gap, curl, or frayed strands on a cable. Cables don’t stretch gracefully. When the braid starts separating, the next stage is a snap. If the door is unevenly lifted or hanging lower on one side, you’re already there.
- The door is off its track. Rollers out of the channel, a bent track, or a panel pushed out of alignment. Running the opener while a door sits off-track can crush a panel, tear the top section from the opener arm, or drop the door entirely.
- The door closes and then immediately goes back up, or won’t stay down. This can be a failed safety sensor, a misadjusted limit switch, or a broken spring keeping the door from traveling properly. If the door is closing on its own and then reversing, treat it as urgent – that’s a security and safety risk.
- A visible kink or bow in a track. A bent track will derail rollers. Every cycle it runs makes the bend worse and the eventual repair larger.
We answer 24/7. If you’re in Hampton and you’re in Tier 1, calling is the right move before you run the opener one more time to “see if it’s really broken.”
Tier 2: Schedule Within 30 Days
Tier 2 symptoms are the ones homeowners most often let slide. The door still works, so it feels fine. But these are wear signals – parts that are measurably past their useful life and will fail. Scheduling in a normal timeframe is cheaper, faster, and far less disruptive than an emergency call.
- Grinding, screeching, or squealing during travel. Worn metal rollers, dry bearings, or a roller that’s seized and dragging along the track. Left alone, a seized roller wears a groove into the track.
- The opener hesitates, groans, or seems to struggle at one point in the cycle. That’s a load problem, not an opener problem. Something in the door is binding, and the opener is working harder than it should. Continuing to force it will burn out a motor that was doing fine.
- The door reverses without an obstruction. Sensor misalignment, a dirty photo-eye lens, or a limit setting drifting out of position. Fixable in a single visit, but until it’s fixed the door’s protection logic is unreliable.
- The remote lags, only works from close up, or needs a press or two. Usually a battery, sometimes an antenna issue, occasionally a logic board beginning to fail. Worth diagnosing before the remote quits entirely.
- Visible rust bloom on rollers, hinges, or the bearing plates. Rusty rollers don’t roll, and seized hinges don’t pivot. A replacement set is a small, straightforward job that stops the wear from spreading to the track.
- The door won’t hold its balance halfway open. Lift the door by hand (carefully, with the opener disconnected) about halfway and let go. A healthy door stays put. One that drops is showing spring fatigue.
None of these require a same-day call. None of them should get to next season either. Our garage door repair service covers all of these as a single-visit fix, and the estimate you receive is written out before any work starts.
Tier 3: Monitor It
Tier 3 is the “keep an eye on it” list, and it exists because not everything that’s off is broken. A garage door is a moving assembly on a wood-framed house. It settles, expands, and moves slightly with the seasons. Knowing which changes are normal is as useful as knowing which ones aren’t.
- Light rattling or vibration during travel. Slightly loose hardware, minor play in rollers, or a panel that isn’t quite snug. Not a failure risk on its own. If the noise grows louder or becomes metallic, it moves to Tier 2.
- Cosmetic rust on painted surfaces. Surface discoloration on a steel panel, or on hardware that isn’t under load. Doesn’t affect operation. Worth noting because rust that’s on a spring or a cable end behaves differently – see the corrosion section below.
- Slight drafts or light gaps at the bottom edge. Usually the bottom weather seal. Replaceable, low priority, but worth doing before a cold snap.
- A single pop or crack you hear once and never again. Could be a panel expanding against its frame, could be the house. If it doesn’t repeat and the door operates normally, there’s nothing to act on.
- Faint creaking after a big temperature swing. Normal. Metal and wood expand at different rates. Reassess in a few days.
The rule for Tier 3 is simple: revisit the symptom in a couple of weeks. If it’s unchanged, it stays Tier 3. If it’s louder, more frequent, or joined by something new, it’s moved up a tier.
Normal Door Noise vs. Noise That Means Trouble
Every garage door makes noise. The question isn’t whether you hear something, it’s what kind of sound you’re hearing and where in the cycle it happens. A grinding noise when the door lifts can be a $12 roller replacement or a much larger cable drum repair – and the difference is visible if you know where to look. Here’s how to tell the two apart without special tools.
Normal: a low rumble from the opener motor, a soft whoosh as the door rolls, a muted thud when the door meets the floor, and an occasional tick from a chain or belt drive. All of these are mechanical sounds of a working door.
Worth a look:
- Grinding that changes pitch as the door moves. Locate it by ear – overhead means rollers or bearings, at the sides means tracks or hinges, at the ceiling means springs or the center bearing plate.
- A screech on one part of the travel only. A single bad roller or a flat spot on the track. The location of the sound tells you which one.
- Popping or snapping at the top of the door, especially when it’s fully up. Spring or cable under load. Tier 1 territory if it’s new.
- A grinding sound from the opener itself, not the door. Usually a gear or sprocket inside the unit. We work on the brand you already own, including Genie and Wayne Dalton openers, and the inside of a motor sounds different from the door assembly once you’ve heard both a few times.
If the noise is new in the last week and you can point to it, that’s the most useful information a technician can get. Our technicians have up to 12 years of experience and can usually narrow a diagnosis to two or three parts before arriving.
What Corrosion Looks Like in Hampton Before It Fails
Hampton’s weather swings a lot – humid summers, freeze-thaw stretches in winter, and long damp spells in between. That cycle is hard on metal that lives in an unheated garage, and it produces a specific pattern of corrosion on garage door hardware that’s worth knowing how to read.
Here’s what to look for, and what each stage tells you:
- Springs: a torsion spring starts as a clean coil and develops a fine orange bloom along the wire. That bloom is the oil coating breaking down. Once rust starts pitting the coil, the spring is losing tension unevenly and will eventually snap. A rusty spring that’s also starting to sag is a Tier 2 item – replace before it goes.
- Tracks: rust on the inside face of a track is the problem, not the outside. Rusty track surfaces grab rollers and force them to drag. Look inside the channel by eye from below.
- Cable ends: the loop where the cable terminates at the bottom bracket or the drum. If the ferrule is discolored or the cable strands near it look powdery, that cable is weakening. A frayed or rusted cable end is a Tier 1 call.
- Hinges and bearing plates: rust that keeps a hinge from pivoting freely shows up as a popping noise during travel, not as visible damage. Lift a hinge by hand – if it doesn’t want to move, it’s seized.
- Rollers: steel rollers corrode and stop rolling. Nylon rollers wear out differently – they flatten and develop a flat spot you can hear as a rhythmic thump.
None of these require special equipment to spot. A flashlight and a slow walk around the inside of the garage will show you all of it. If any of the above is beyond surface level, a trained technician is the right person to confirm whether replacement is due. If you’re replacing an aging door rather than repairing it, our garage door installation team can walk you through options from Clopay and Amarr.
Opener Behavior Flags and What They Mean
The opener gets blamed for a lot of problems that actually live in the door. Before you assume the motor is failing, watch what it does and match the behavior to the list below. This is the kind of checklist a technician runs in their head, and you can run it too.
- The door reverses without an obstruction. Safety sensor issue, in most cases. Either the photo-eyes are misaligned, the lens is dirty, or a spider has taken up residence across one of them. Clean the lenses and check that the two lights on the sensors are solid, not blinking. If they’re already solid, the limit switch on the opener is drifting.
- The opener hesitates at the same point every time. A binding door, not a failing motor. The opener is working harder against a specific spot in the travel. Common causes: a damaged panel, a bent track, or a roller that’s come loose from its hinge.
- The door runs but the motor sounds strained. Same story – mechanical resistance. Do not keep cycling it. The opener is the part that will fail next.
- The remote only works from close range, or the wall control works while the remote doesn’t. Battery first, then antenna or interference. A smart opener (LiftMaster and Chamberlain platforms in particular) sometimes needs the app or remote re-paired after a power event.
- The opener beeps and the light flashes before the door closes. This is the opener telling you the safety reverse is engaged or the battery backup is low. It’s not a malfunction – it’s the unit working correctly.
- Nothing at all, and the wall outlet is fine. Could be a blown logic board, could be the capacitor. Both are normal opener repairs, and both are worth diagnosing rather than replacing the whole unit on a hunch. Our garage door opener repair covers the major platforms, including the app-connected ones.
If the opener is doing any of the above and the door itself looks fine, that narrows the problem to the electronics. That’s a different diagnosis than a mechanical issue, and it’s one a specialist can usually confirm in a single visit.
The 60-Second Inside Inspection
You don’t need a tool or a ladder to catch the majority of developing problems. Stand inside the garage with the door closed and walk the perimeter. Here’s the route to take, in order, in about 60 seconds.
- Look up at the springs. Both springs should look the same – same color, same tension, no visible gap or sag. A snapped spring leaves a clear gap in the coil. You’ll know it when you see it.
- Follow the cables down from the drums. Both sides, top to bottom. Look for fraying, kinks, or a ferrule that’s discolored. Any gap in the cable is a stop-using sign.
- Eyeball the tracks on both sides. They should be straight, parallel, and clean inside the channel. Any visible bend or rust bloom on the inside face goes on the list.
- Walk the rollers. Every roller should sit fully inside its hinge and against the track. A roller that’s slipped partway out means the hinge is loose.
- Check the hinges for pivot freedom. Lift each hinge by hand. It should move freely. Seized hinges are a quiet problem until the panel starts to bind.
- Look at the bottom bracket and the safety sensors. The bracket should be tight against the panel, and both sensor lights should be solid, not blinking.
- Test the balance. With the door closed, pull the opener release, lift the door by hand to about halfway, and let go. It should stay where you left it. If it drops, that’s spring fatigue – re-engage the release and book a service call.
Run this once a season. In our experience, this one walk catches most of the developing problems that would otherwise turn into Tier 1 calls. It takes a minute, needs no tools, and tells you enough to know whether you’re making a call or just making a note. For a broader look at repair options once you’ve found something, Hampton Garage Door Repair Pros is the right starting point.
Common Mistakes to Avoid
- Trying to adjust or replace a torsion spring yourself. This is one of the most dangerous jobs in home repair, and it’s the reason spring work is called out as a specialty rather than a DIY task. A torsion spring stores enough energy to cause serious injury. Leave it to a trained technician.
- Assuming a snapped spring means you can still use the door “just this once.” A door with one of two springs broken is carrying double load on the remaining one. Running it cycles that spring much harder than it was designed for. Stop the door and call.
- Ignoring a door that reverses for no reason. Anti-reverse protection is the door’s safety net. If it’s misfiring, the door isn’t protecting what it’s meant to protect. A sensor misalignment is a small fix; a door that ignores the safety system is a much bigger problem.
- Oiling the tracks to quiet the noise. Lubricant on a track collects dirt and grit and makes the situation worse. The noise is usually coming from the rollers or the bearings, not the track surface. Correct lubrication goes on the rollers, hinges, and the spring (if manufacturer-approved), never on the track itself.
- Calling a general handyman for spring or opener work. A garage door is a system. A generalist may fix the symptom without diagnosing the cause – which is how a minor roller issue becomes a bent track six months later. Garage door specialists diagnose the whole assembly.
- Replacing the whole opener when the door is the problem. Most opener complaints trace back to a binding door. Replacing the unit without fixing the resistance means the new opener will be working just as hard as the old one.
- Ignoring the balance test. If the door won’t hold halfway, the spring is tired. Waiting for it to snap turns a scheduled repair into an emergency call. The balance test is quick, free, and doesn’t lie.
When to Call a Professional
Call today if any of these apply: a broken spring, a frayed or visibly compromised cable, a door off its track, a door that won’t stay down, or a loud bang from the ceiling followed by a door that won’t lift. These are the symptoms where running the door again risks injury or makes the repair larger.
Schedule within a normal window if the door is grinding, the opener is hesitating, the door reverses without obstruction, or a roller or hinge has seized. None of these needs an emergency call, but none of them should wait for the door to stop working entirely.
If you’re not sure which situation you’re in, describe the symptom over the phone and we’ll tell you whether to stop using the door or book a repair. Hampton Garage Door Repair Pros offers free estimates in Hampton. Call (833) 842-4783. We answer 24/7. Fast dispatch from 7am to 7pm, Sunday through Friday. Every price is quoted and agreed before any work starts, and the written estimate sets the final price.
Frequently Asked Questions
A changing sound is the most common early sign. A door that used to run quietly and now grinds, screeches, or hesitates at one point in the cycle is telling you something is wearing. The second most common sign is a door that won’t hold its balance halfway open, which points to spring fatigue. Either is worth a visual inspection and, if it persists, a service call.
Stop immediately if the door has a broken spring, a frayed cable, a visible bend in the track, or has come off its track. Leave the door where it is and call. Running a door with a failed spring or cable places the remaining parts under much heavier load and can turn a manageable repair into a full replacement. Call (833) 842-4783 for a free estimate.
No. Grinding can be a worn roller, a dry bearing, or a loose hinge, which are usually straightforward repairs. The key is where the grinding comes from: at the sides of the door it’s usually rollers, hinges, or the track; at the ceiling it’s usually the springs or the center bearing plate. Any grinding that’s new and getting worse deserves a look within a month.
Once a season is a good rhythm. Hampton’s humid summers and freeze-thaw winters put metal hardware through a lot of expansion and contraction over a year, so a 60-second visual inspection each season catches most developing problems early. The inside inspection in this guide covers everything you need to check.
In most cases, the safety sensors are misaligned or dirty. Clean the photo-eye lenses on both sides and confirm the indicator lights are solid, not blinking. If they’re solid and the door still reverses, the opener’s limit switch has likely drifted. That’s a routine adjustment, not a major repair.
The written estimate sets the final price. We quote each job per job based on what the repair actually involves, so there’s no surprise on the invoice. If a technician finds something during the repair that changes the scope, you’ll hear about it before any additional work starts, and you decide whether to proceed. Call (833) 842-4783 for a free estimate – we answer 24/7.
The Bottom Line
Most garage door failures are not sudden – they’re the end of a symptom that was visible for weeks. The three-tier system in this guide exists so you can separate what’s urgent from what’s cosmetic: stop using the door for a broken spring, a frayed cable, or a door off its track; schedule within a month for grinding rollers, opener hesitation, or a reversing door; monitor loose hardware and surface rust on painted panels. Run the 60-second inside inspection once a season and the door will tell you what it needs before it fails. When in doubt, describe the symptom to a specialist and let them tell you which tier it’s in.
Hampton Garage Door Repair Pros is a garage door specialty company, not a generalist handyman service. We handle spring repair, opener repair, and full door installation, and we work on the brand you already own. Spring repair done safely, done right – torsion and extension spring work is a specialty, not a DIY recommendation.
Call (833) 842-4783 for a free estimate. We answer 24/7. Fast dispatch from 7am to 7pm, Sunday through Friday.
Written by the team at Hampton Garage Door Repair Pros.
See the difference
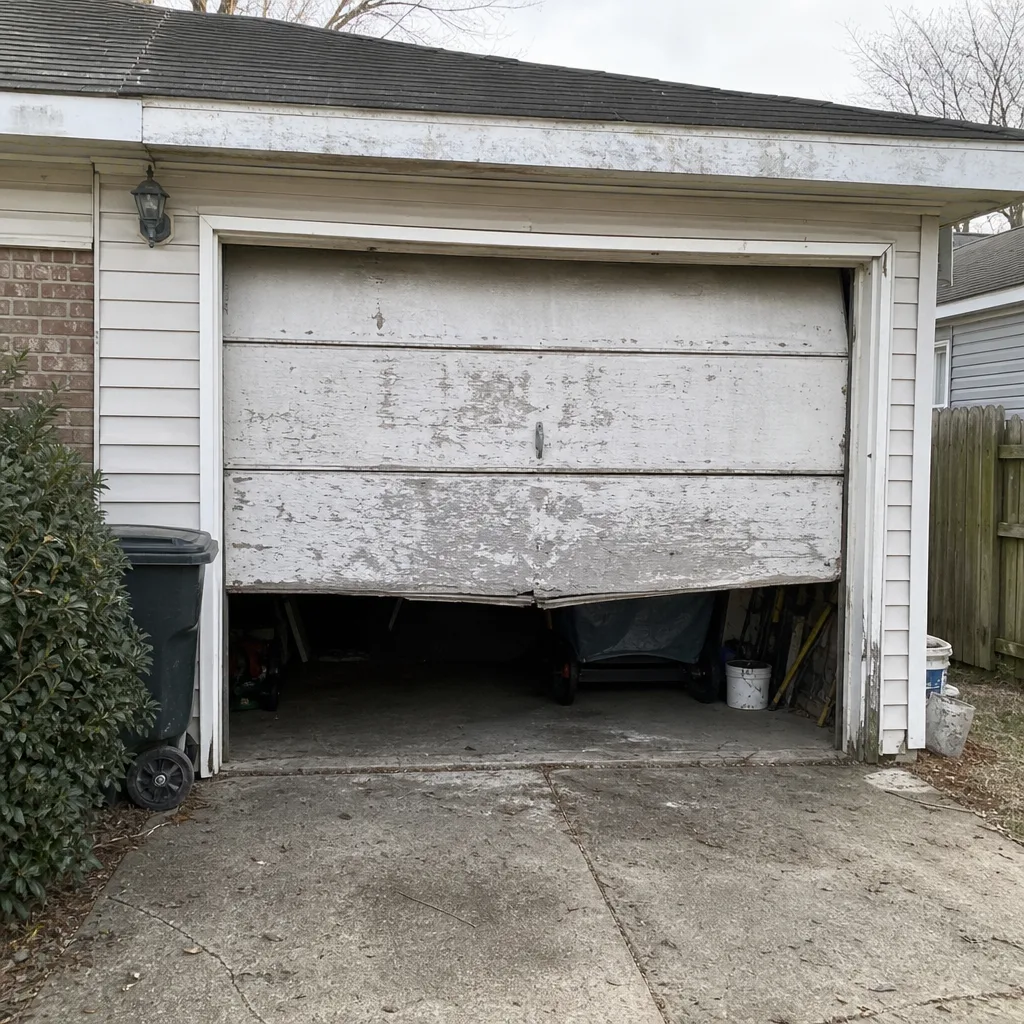 Before
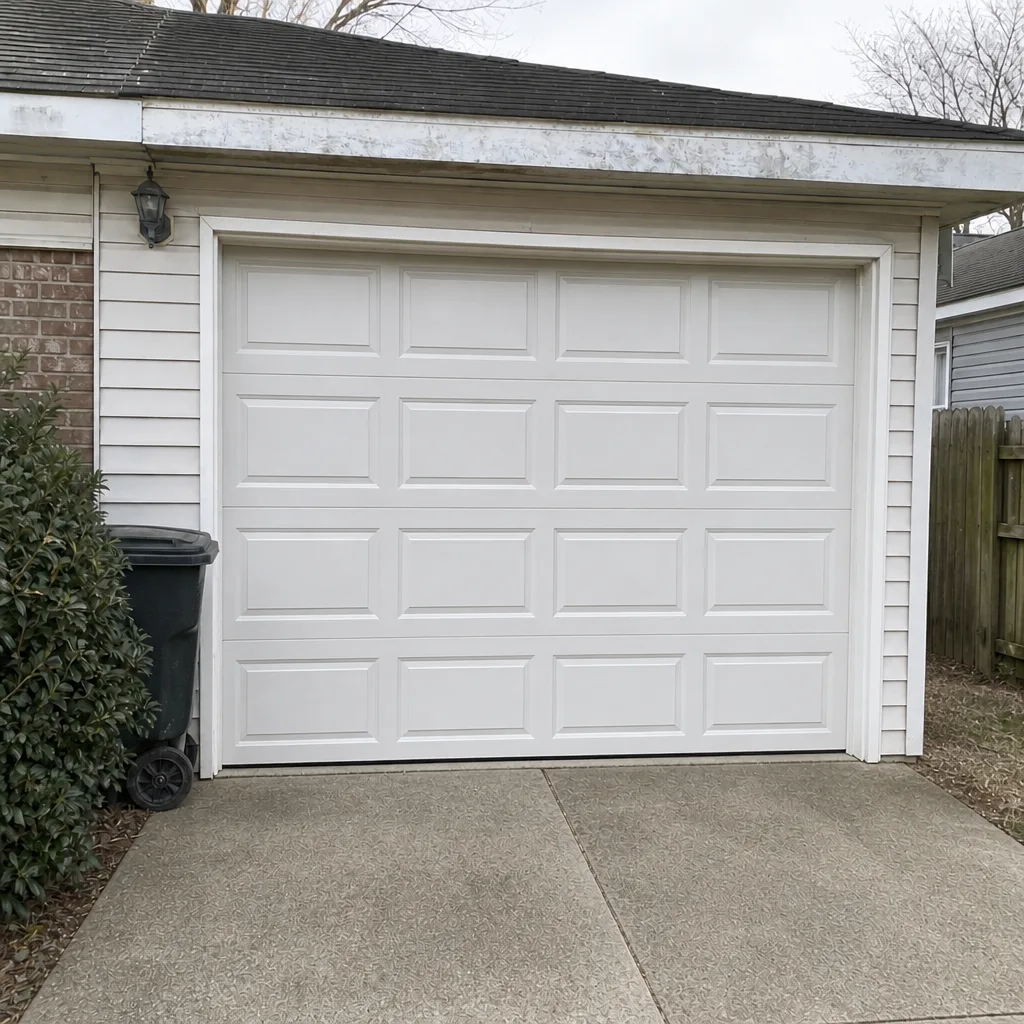 After
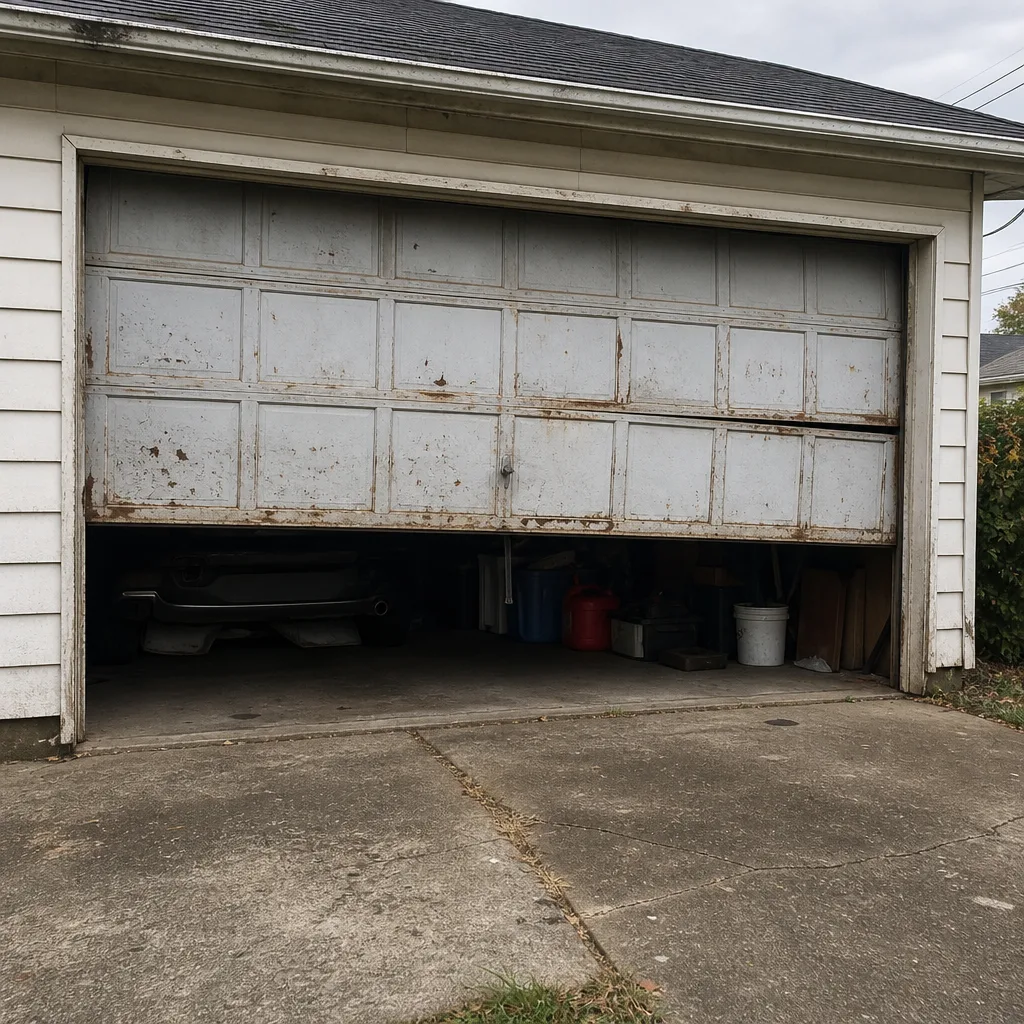 Before
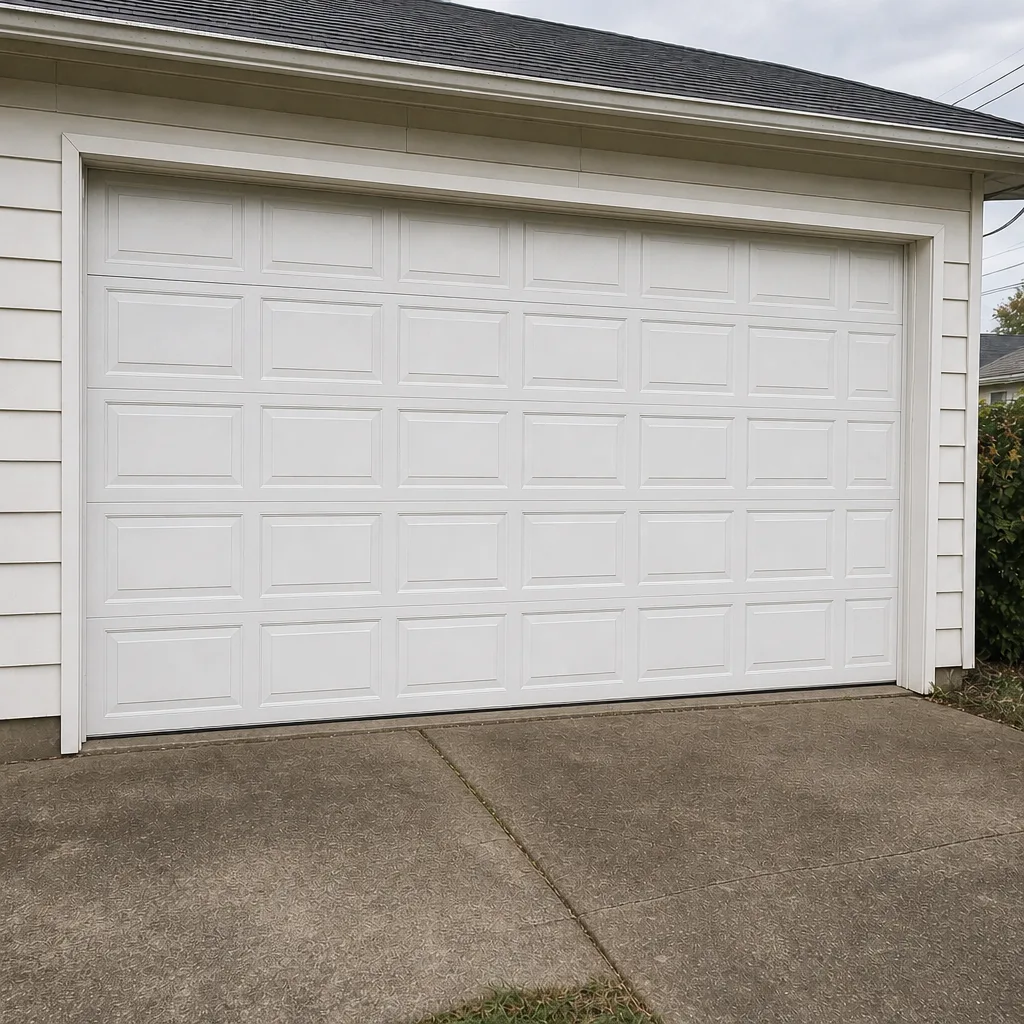 After
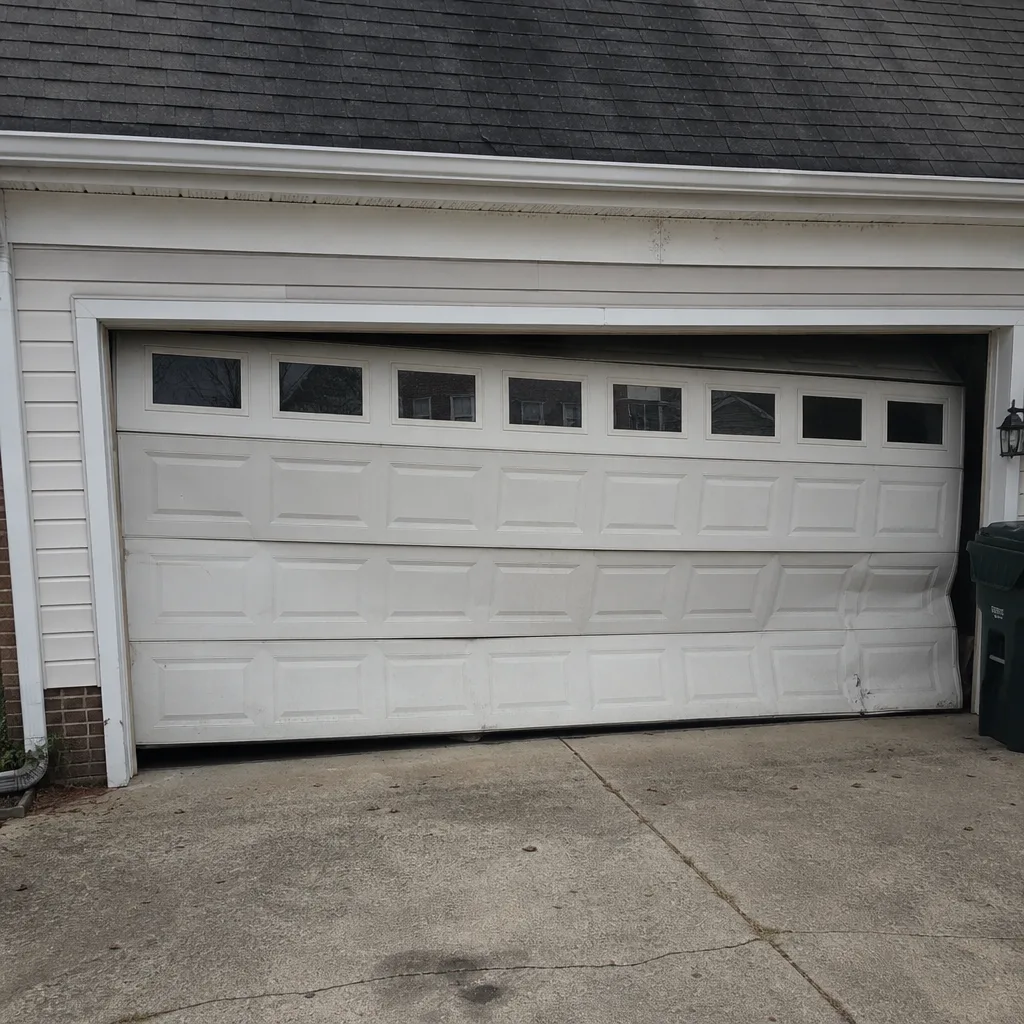 Before
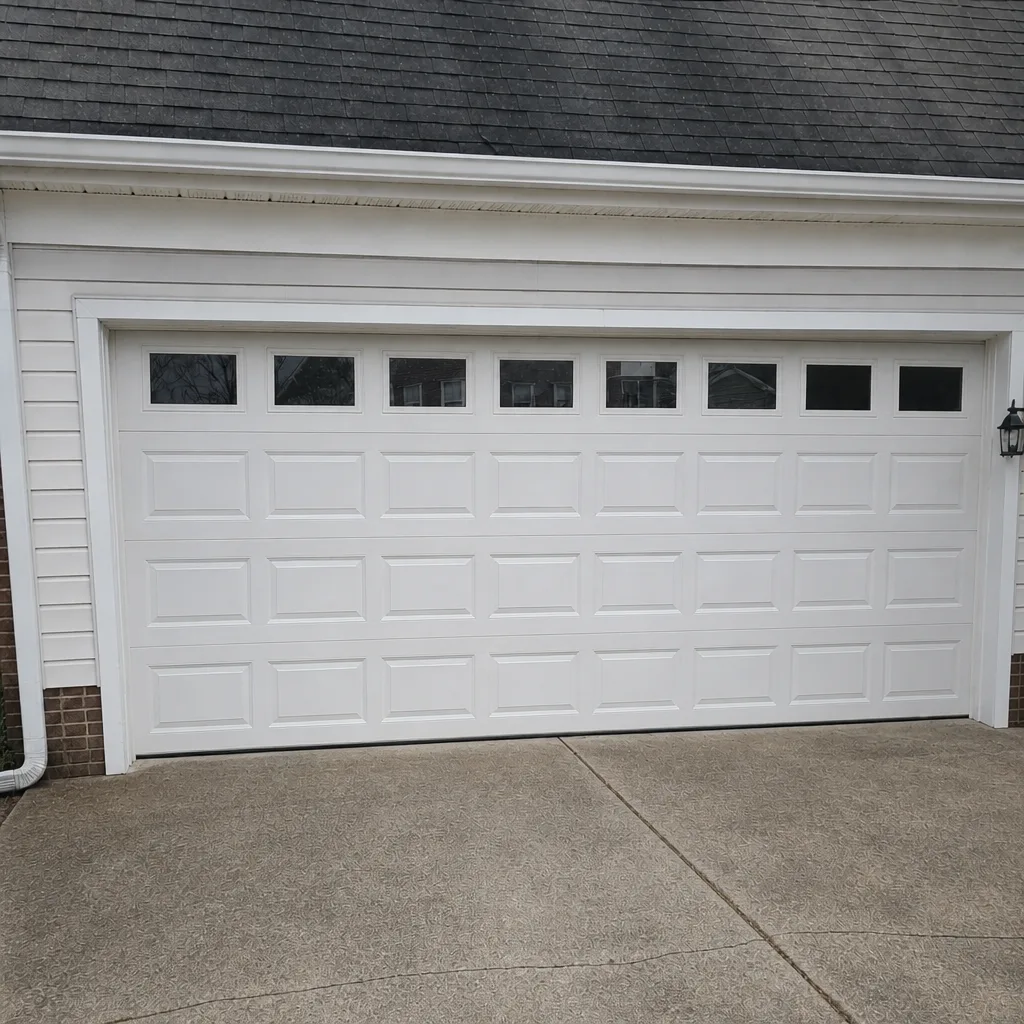 After