
Last updated November 21, 2026
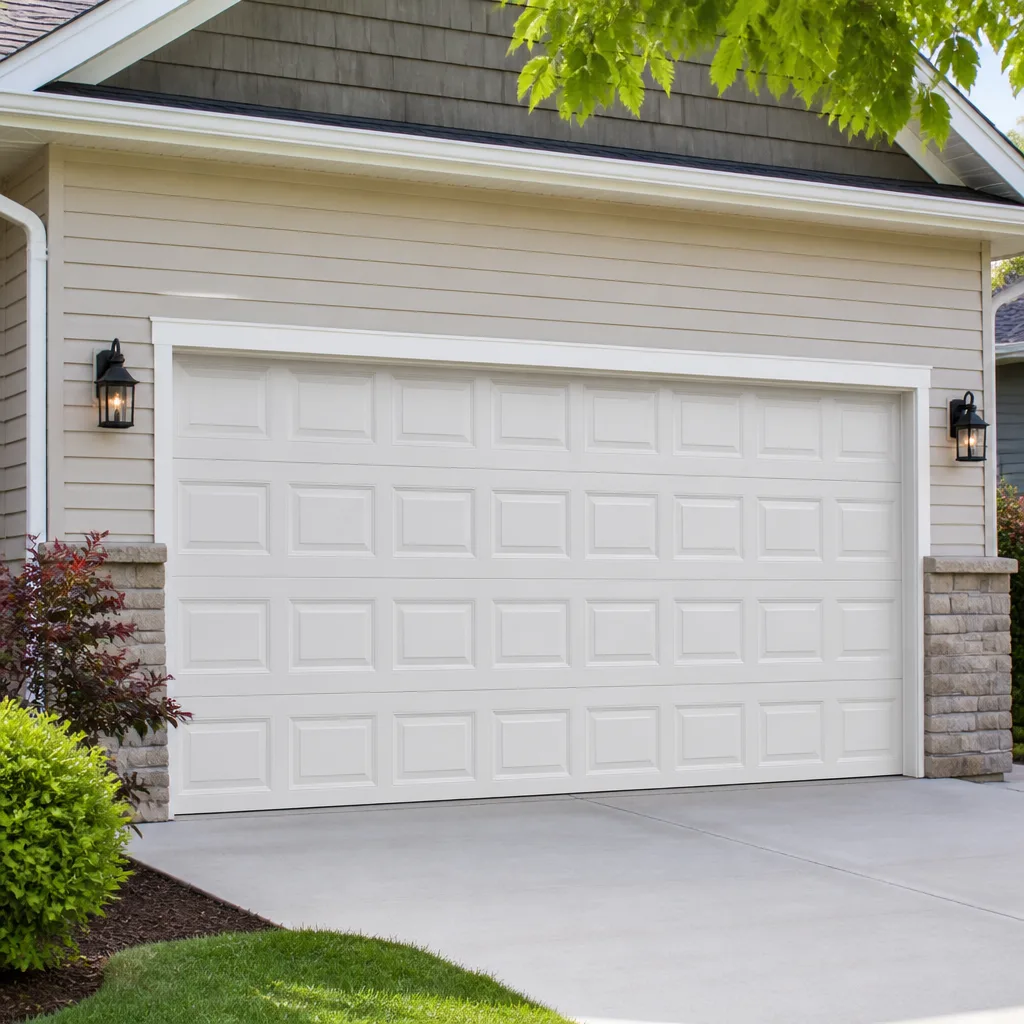 Raised-panel steel
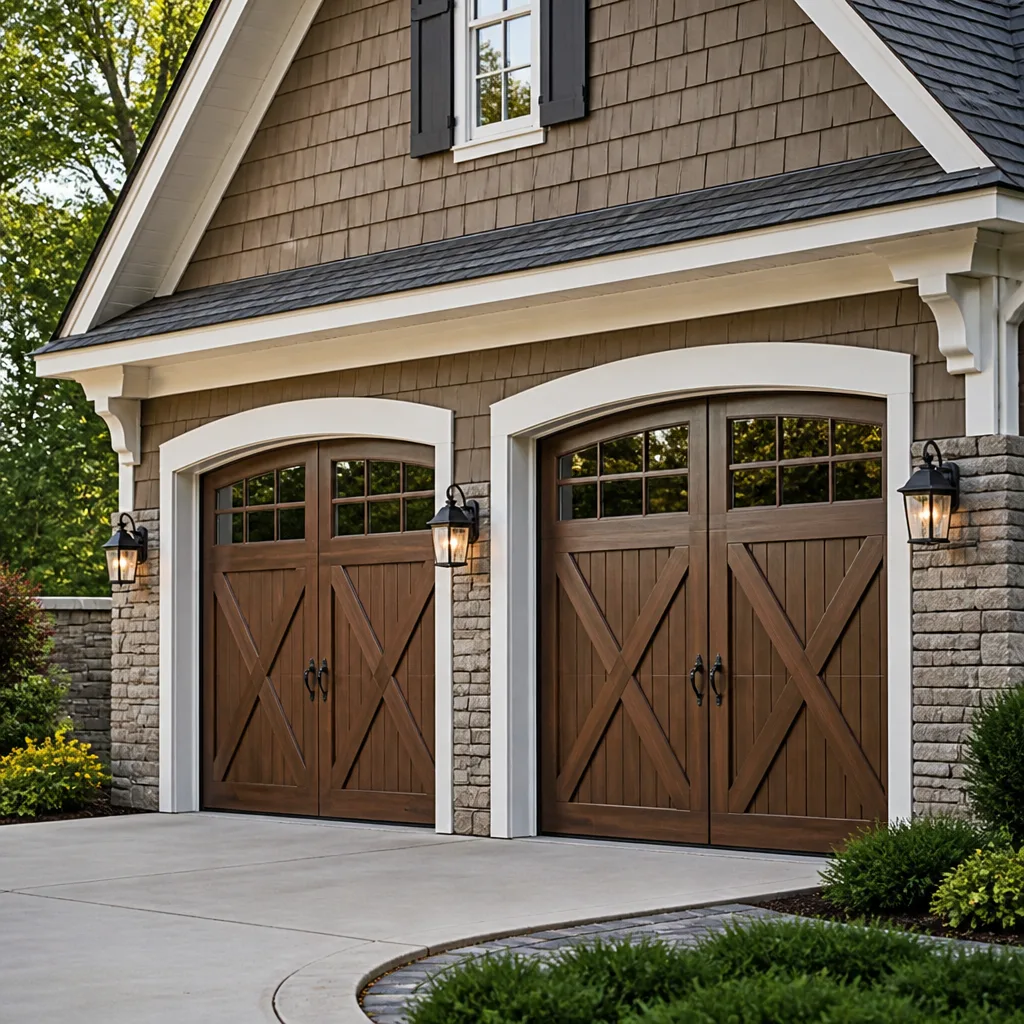 Carriage house
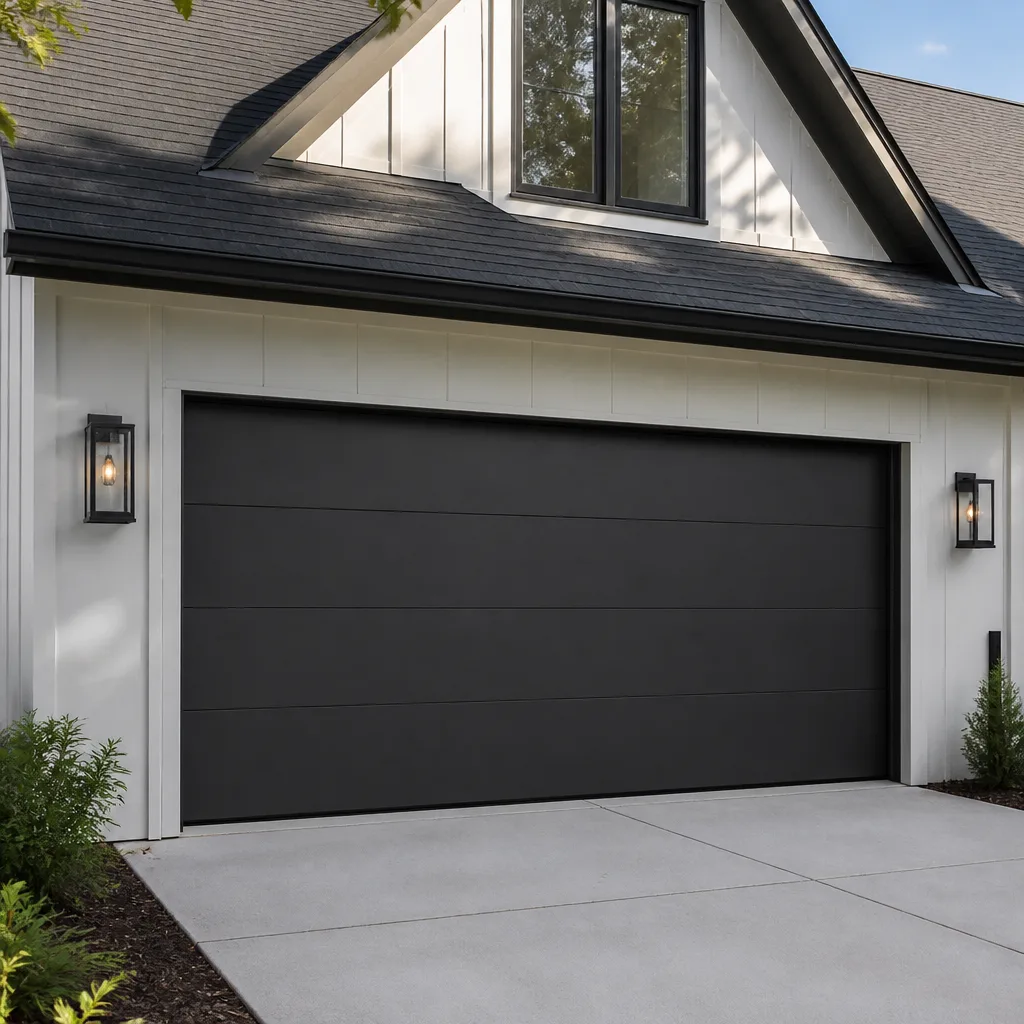 Modern flush
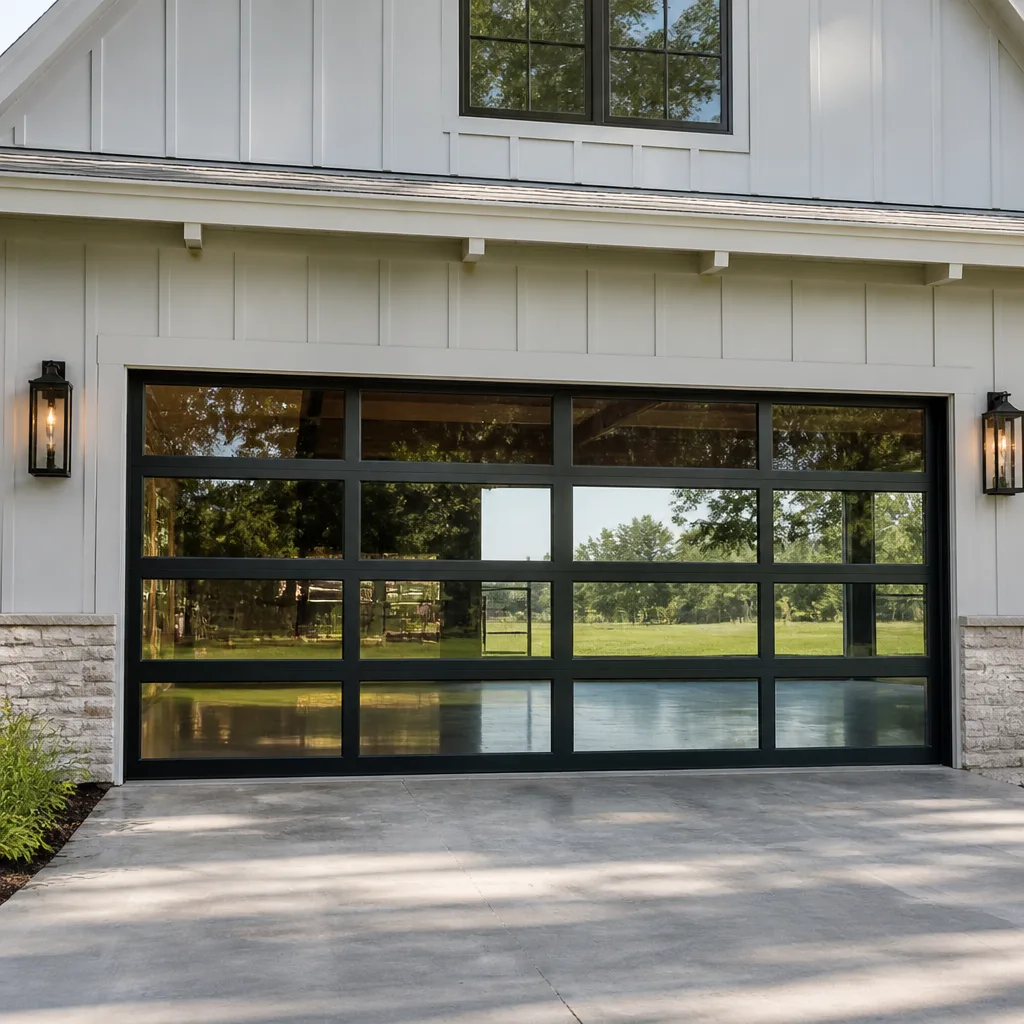 Full-view glass
 LiftMaster openers
 Chamberlain openers
Full 25-point door and opener safety check with every visit - springs, cables, rollers, tracks, and your LiftMaster or Chamberlain opener included
You get a price before we start. It does not change when the pro arrives.
Get your free estimateDIY vs Professional Garage Door: The Hampton Homeowner’s Decision Guide
Replacing a bottom weatherseal is a legitimate DIY job. Replacing a torsion spring on a door that weighs over 200 pounds is not, and the reason isn’t a liability disclaimer. A spring wound to 150 foot-pounds of torque doesn’t creak a warning before it lets go. The gap between “you can do this Saturday afternoon” and “call someone who does this every week” is wider on garage doors than on almost any other part of a house, and it isn’t the same gap for every task. A Hampton homeowner can handle several jobs with a socket set and a Saturday. Others will cost more to fix after a failed attempt than the original repair would have. This guide sorts every common task into DIY-safe, DIY-with-caution, and professional-only, and tells you exactly why each one lands where it does. By the end you’ll know which jobs to take on, which to leave, and what a mistake in each category actually costs to undo.
Quick Answer
Most garage door tasks fall into three tiers: weatherseals, lubrication, roller swaps, and remote or safety-sensor fixes are reasonable DIY work. Panel and section replacement, opener logic-board swaps, and sensor realignment are DIY-with-caution jobs where a mistake is recoverable. Torsion and extension spring work, cable replacement, and spring-to-drum rebalancing are professional-only, because a spring under load can cause serious injury in a fraction of a second. In Hampton, we handle all three tiers, and we’ll tell you honestly when a job isn’t worth your afternoon.
Styles & brands we work with
- Raised-panel steel
- Carriage house
- Modern flush
- Full-view glass
- LiftMaster openers
- Chamberlain openers
Table of Contents
- How to Evaluate Your Door and Opener Before You Touch Anything
- DIY-Safe Garage Door Tasks in Hampton
- DIY-With-Caution: Where Mistakes Are Recoverable
- Professional-Only Tasks and Why They’re Non-Negotiable
- Tools a Hampton Homeowner Actually Needs
- The Real Cost of DIY Mistakes by Job Type
- When a Professional Is Actually Cheaper Than DIY
- Common Mistakes to Avoid
- When to Call a Professional
- Frequently Asked Questions
How to Evaluate Your Door and Opener Before You Touch Anything
Before you decide whether to pick up a wrench, spend ten minutes identifying what you actually own. Garage doors and openers are built in families, and knowing your model changes what parts you can order, what tools you need, and whether a task is even accessible to a homeowner. Here’s how to work through it.
- Find the door’s make and model. Look for a sticker on the inside of the top or bottom section. Clopay and Amarr both place a model tag on the panel face, and the number on that tag is what a parts counter will ask for first.
- Identify your spring type. Torsion springs run horizontally on a shaft above the door and are wound with a bar. Extension springs stretch along the sides above the horizontal tracks. Torsion springs hold far more stored energy, and they’re the ones to leave alone. If you’re not sure which system you have, stop and ask.
- Check the cable drums. Look at the ends of the torsion shaft above the door. The drums are grooved aluminum or steel spools with a set screw holding them to the shaft. The way the cable winds into that groove (“handing”) differs left to right, and putting a drum back on the wrong side is a common botched repair.
- Confirm your opener model. LiftMaster and Chamberlain units are usually labeled with a model number on the back panel or under the light lens. Craftsman and Genie units carry theirs near the motor housing. Your model tells you whether parts are still made and whether the manufacturer’s instructions cover the job you’re considering.
- Test the balance and the safety reverse. Disconnect the opener with the release handle, lift the door halfway by hand, and let go. A properly balanced door holds its position. Then reconnect and test the photo-eye sensors with a piece of cardboard; a door that doesn’t reverse is a safety problem, not a convenience problem.
If that evaluation takes you longer than it should, that’s useful information in itself. A door that’s been neglected or a model you can’t identify is a good sign it’s time for a professional look.
DIY-Safe Garage Door Tasks in Hampton
These are the jobs we’ll happily walk a homeowner through over the phone, because they carry little risk and a mistake is easy to correct. Hampton’s summer humidity and occasional coastal storms take a toll on the rubber and moving parts on these doors, so these tasks come up regularly.
Bottom weatherseal replacement. The rubber seal at the base of the door keeps out water, insects, and drafts. It’s held in by a track or a set of screws, and a replacement seal cuts to length with a utility knife. Expect 30 to 45 minutes on a standard single-car door.
Lubrication. A few drops of white lithium grease or a garage-door-specific lubricant on the hinges, rollers, and spring coils once or twice a year quiets a noisy door and extends the life of the hardware. Don’t use WD-40 as a substitute; it cleans but doesn’t lubricate the way the hardware needs.
Roller replacement. Worn nylon rollers are the most common cause of a door that rattles or jerks. With the door in the down position (spring tension released), rollers slide out of the hinge brackets and new ones slide in.
Remote and keypad programming. Whether you have a Chamberlain or a Genie, programming a new remote or resetting a keypad is covered in the owner’s manual and takes five minutes. Replacing the battery is the other half of the solution.
Safety sensor alignment. The photo-eye sensors at the bottom corners of the track need a clear line of sight. Cleaning the lens and nudging the bracket is usually all it takes, though a sensor that won’t hold alignment may mean a bent bracket or a bad wire.
Track wiping and hinge tightening. A rag and a socket set handle loose hinge bolts and grime buildup on the tracks. Tighten snug, not cranked; over-torquing strips the threads and creates a new problem.
DIY-With-Caution: Where Mistakes Are Recoverable
These jobs are within reach for a careful homeowner with the right tools, but a mistake will require a professional visit – and often cost more than doing it right the first time. Approach them knowing that.
Panel replacement on a sectional door. Replacing one damaged bottom panel is manageable on a lightweight door, but panels are ordered to the exact model and color. A mismatch, or a panel installed without the correct strut, can throw the door out of balance and stress the opener. Order through the door manufacturer, and confirm the panel matches your model (Clopay and Amarr both make this straightforward if you have the sticker number).
Opener logic-board swaps. Replacing a control board is a plug-and-play job when the replacement board matches exactly. The caution: unplug the opener first, and photograph the wire connectors before you touch anything. Wiring to the wrong terminal is the fastest way to turn a $180 board swap into a whole-unit replacement. Newer LiftMaster and Chamberlain units also pair with the wall console after a board swap, which trips up a lot of homeowners.
Bracket reinforcement (top of door). If the opener arm pulls the top section and it’s flexing, a strut or reinforcement bracket is the fix. This requires loosening, not removing, the top hinges. Don’t load the spring system while you’re up there.
Replacing a single extension spring on a lightweight door. Only one of the two springs on a double-spring setup, and only if you’re comfortable working with tension. Otherwise, extend the caution all the way to “professional.”
Replacing an opener unit. A new opener is a solid DIY candidate on a like-for-like swap (same rail length, same mounting). The old unit’s carriage and arm come across. The risk is the door itself: a worn spring will kill a brand-new opener within a season, so verify the door balance first. This is also where a single call to a specialist for a fresh installation saves the do-it-yourselfer grief – garage door installation covers the full process, including opener pairing and safety testing.
Professional-Only Tasks and Why They’re Non-Negotiable
There are jobs on a garage door where the answer isn’t “be careful” – it’s “don’t.” The short list.
Torsion spring replacement. A torsion spring on a typical residential door stores enough energy to lift the door and enough to injure anyone in the path of a released winding bar. The winding bars, the torque calculations, the paired-spring balance, and the door weight all have to line up. A tech who does this every day knows the feel of a spring seated correctly; a homeowner doing it once does not. We do this work, and we do it with the correct bars and the door blocked. This is the single most important professional-only task on a garage door.
Extension spring replacement. Softer than torsion, but the same fundamental risk: a broken extension spring can whip across the garage. Most modern installations include a containment cable, and if yours doesn’t, it’s missing a safety feature. Leave the replacement to a trained technician.
Cable replacement and spring-to-drum rebalancing. A frayed or snapped lift cable is the second-highest-risk component on the door. Cables carry the full weight of the door, and replacing one without special tools and the correct drum winding is a way to drop the door. This is core garage door repair work for a reason.
Track replacement or major realignment. If a track is bent from a vehicle strike or a door that jumped, the door has to be unloaded before the track comes off. This isn’t a sledgehammer job; misalignment means a door that binds or, worse, falls.
Opener gear and sprocket replacement on a heavy ¾-hp unit. The internal gear train on a Genie or LiftMaster opener requires opening the housing and re-timing the chain or belt. Without the specific manual and the correct replacement kit, it’s a losing proposition.
If you’re in doubt about which category a job sits in, describe it to us. Hampton Garage Door Repair Pros fields these questions all day, and we’ll tell you straight whether it’s worth your time or ours.
Tools a Hampton Homeowner Actually Needs
For the DIY-safe and DIY-with-caution tiers, you don’t need a rolling toolbox. You need about nine items, mostly already in the average garage.
- A ¼-inch and 3/8-inch socket set, with deep sockets up to ½ inch, for hinge bolts and track brackets.
- An adjustable wrench for cable drum set screws and spring anchor bolts (for appearances only – don’t undo them).
- A Phillips and flathead screwdriver for the opener housing, wall console, and sensor brackets.
- A level, two feet minimum, for checking track plumb and door square.
- A tape measure for door height, spring length, and opener rail length.
- A utility knife and a new blade for weatherseal trimming.
- White lithium grease (or a garage-door-specific lubricant) and a rag.
- A stepladder that you’ll actually stand on. Never work on a garage door off a folding chair or a milk crate.
- A phone with a camera for photographing the wiring and the model stickers before you disconnect anything.
What’s missing from that list is just as important: winding bars, spring clamps, and cable pullers. Their absence is the sign that jobs requiring them are professional-only. Don’t buy a torsion spring kit off the shelf – it’s a tool set you’ll use once, and the risk is higher than the savings.
The Real Cost of DIY Mistakes by Job Type
Here’s the honest math. A DIY mistake in the safe tier costs you a Saturday and a trip to the hardware store. In the caution tier it costs you the price of a professional call plus parts. In the professional-only tier, it can cost you the door, the opener, or a trip to urgent care. The table below lays out what a failed attempt actually sets you back.
- Misaligned track (caution tier): a door that binds, wears rollers fast, or bows a panel. The fix is a professional realignment plus replacement rollers; if a panel warped, it’s a panel order too.
- Improperly wound torsion spring (professional tier): the door slams down or up, cable drums get overrun, and in the worst case, the spring releases and damages the panel above it. The reset is a full spring and cable inspection.
- Botched cable drum replacement (professional tier): a door hanging at an angle, cable off the drum, or a door that drops. Usually means a cable-and-drum rebuild on both sides, not just the one you touched.
- Wrong logic board (caution tier): a fried board and possibly a damaged capacitor or transformer. You’re now buying the correct board and paying for a diagnostic, not just the board.
- Wrong opener installed on an unbalanced door (caution tier): a new opener that burns out its gear train in a season. You replace the opener again.
- Over-torqued hinge bolts (safe tier): stripped threads. A new hinge and a twenty-minute fix. Cheap, but avoidable.
- Sledgyhammer on a track (caution tier): a bent track that can’t be bent back reliably. Full track replacement.
For specific repair costs in Hampton, we give every homeowner a written, itemized estimate before any work begins. That’s the honest number, and it’s the one you agree to.
When a Professional Is Actually Cheaper Than DIY
DIY saves money on the easy jobs. On this list, it usually loses.
Parts availability. A homeowner often pays full retail for a part that’s already in a technician’s supply chain. More importantly, a homeowner orders the wrong part (wrong wind, wrong panel color, wrong drum diameter) and pays return shipping and a second trip. garage door opener repair is a good example: the diagnosis is the hard part, and a technician who’s familiar with LiftMaster and Chamberlain platforms gets the right board or gear kit the first time.
Warranty implications. Most door manufacturers’ warranties are voided by improper installation or tampering with the spring and cable system. A warranty repair you void yourself is money straight out of pocket. A professional repair keeps the door’s warranty intact.
Jobs where one error multiplies the damage. A single wrongly seated cable can wreck a drum, then the shaft, then the spring. A failed spring replacement can damage the opener, the panel above it, and the garage floor. These are the jobs where the “DIY savings” evaporate on the first mistake.
The time you don’t have. If identifying your door’s model, finding the right spring, and safely winding it takes longer than a day you’d get back, the calculation favors a call.
Common Mistakes to Avoid
- Buying a spring kit without checking the door weight and the spring’s wire gauge. A spring is spec’d by wire gauge, inside diameter, and length. Get any of those wrong and the door won’t balance.
- Assuming an opener replacement is always a one-for-one swap. Rail length, motor arm length, and wall console compatibility vary by model. Measure before you order.
- Working without disconnecting the opener or releasing spring tension. Lifting a door against the opener’s carriage is the fastest way to a snapped cable.
- Greasing the tracks. A well-meaning homeowner oils the tracks and then wonders why the rollers slide instead of roll. Lubricate the rollers and hinges, not the track surface.
- Ignoring the safety reverse test. A door that won’t reverse when tested with a block is a safety hazard, not a quirk. Test it monthly on any door that sees regular use.
- Using WD-40 as a lubricant. It’s a cleaner and a light penetrant, not a replacement for the lithium grease the hardware needs.
- Forgetting that a door that closes and then reopens is usually a sensor or a travel-limit problem, not a simple fix. Don’t force the close; adjust safely or call.
- Ordering a panel without the model sticker. Color and panel profile have to match exactly. A number is not optional.
When to Call a Professional
Call us if the door has a torsion spring that’s broken, a cable that’s frayed or snapped, a door that’s dropped on one side, a track that’s been bent, or an opener problem you’ve already tried to diagnose without success. Call us if the door won’t close all the way, if it reverses without reason, or if you can’t safely open it. In Hampton, a door that’s stuck open is a security issue as much as a repair, and that’s exactly the kind of job we handle on the same day. Call us if you’re planning to replace the spring yourself and you’re honest with yourself that you don’t have the right tools. Call us if the door is older than the opener and you’re not sure which should go first.
We work on the brand you already own – LiftMaster, Chamberlain, Genie, Clopay, Amarr, Wayne Dalton, Craftsman, and Raynor – so diagnosis and parts go faster. Our technicians have up to 12 years of experience. Hampton Garage Door Repair Pros offers free estimates in Hampton. Call (833) 842-4783. We answer 24/7. Fast dispatch from 7am to 7pm, Sunday through Friday. Same-day service is available, and the price is quoted and agreed before any work starts.
Frequently Asked Questions
DIY parts generally run from tens of dollars for a weatherseal to a few hundred for a logic board or roller set. A professional repair includes the part plus the labor and the diagnosis, and the written estimate shows the breakdown before any work begins. Call (833) 842-4783 for an exact quote – estimates are free.
No, a torsion spring is not a safe DIY job. The spring stores enough energy to cause serious injury, and the winding, balance, and door weight all have to be correct. Our technicians handle torsion and extension spring work, and we bring the right winding bars. Call (833) 842-4783 if you’re not sure what you have – we’ll help you identify it.
Weatherseal replacement, lubrication, roller swaps, remote and keypad programming, and safety sensor alignment are all reasonable DIY work. Panel replacement and opener logic-board swaps are doable with care, but mistakes are costly. Anything involving a spring, cable, or track realignment is professional-only.
A misaligned track or a wrongly seated drum can damage the door, the cable, and in the worst case the spring. If you’re in the middle of a repair and something feels wrong, stop and call us. Call (833) 842-4783 for an exact quote on a professional repair – estimates are free.
It can. Most door manufacturers void the warranty on improper installation or tampering with the spring and cable system, so the safer route for any warranty-covered issue is a professional repair.
On a like-for-like swap, an opener replacement is within reach, but it isn’t always cheaper. If the door is out of balance, a new opener will wear out early, and the cost of that failure is more than the savings. Call (833) 842-4783 to check the door’s balance first, and we’ll tell you whether the opener or the door is the real problem.
The Bottom Line
The DIY-vs-pro garage door decision for a Hampton homeowner isn’t an all-or-nothing question. Bottom weatherseals, lubrication, roller swaps, and remote programming are yours to handle. Panel replacement and logic-board swaps are worth attempting if you have the model number and the right tools. Torsion and extension springs, cable drums, track realignment, and anything that unloads the spring system are professional work, because a spring still holding tension doesn’t warn you before it lets go. If you’re unsure where a job falls, ask. A phone call now beats a repair bill later, and in some cases a trip to urgent care. The rule of thumb: if you’re reaching for a wrench near a spring, cable, or drum, stop. Call instead.
Call (833) 842-4783 for a free estimate. We answer 24/7, with fast dispatch from 7am to 7pm, Sunday through Friday. Our technicians have up to 12 years of experience, and the written estimate sets the price – quoted and agreed before any work starts. Same-day service is available for repair and emergency calls.
Written by the team at Hampton Garage Door Repair Pros.
See the difference
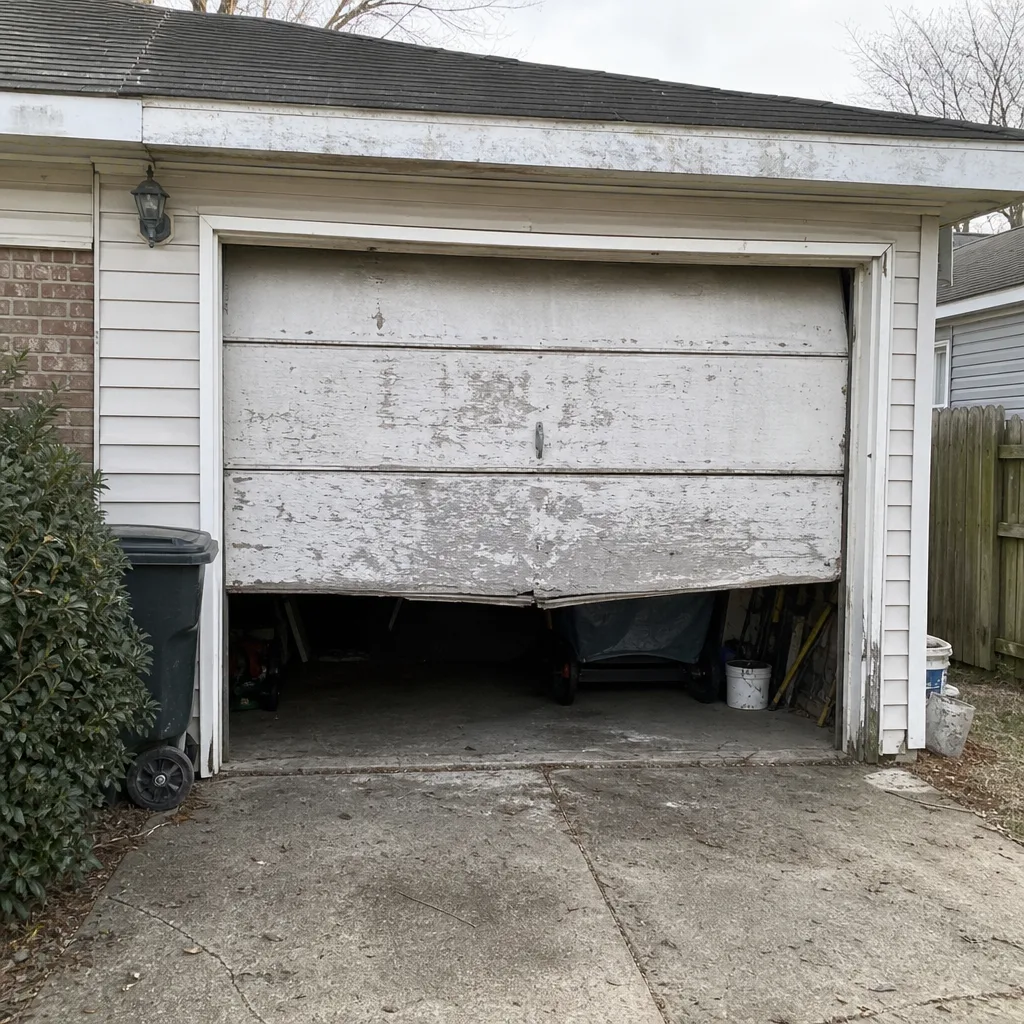 Before
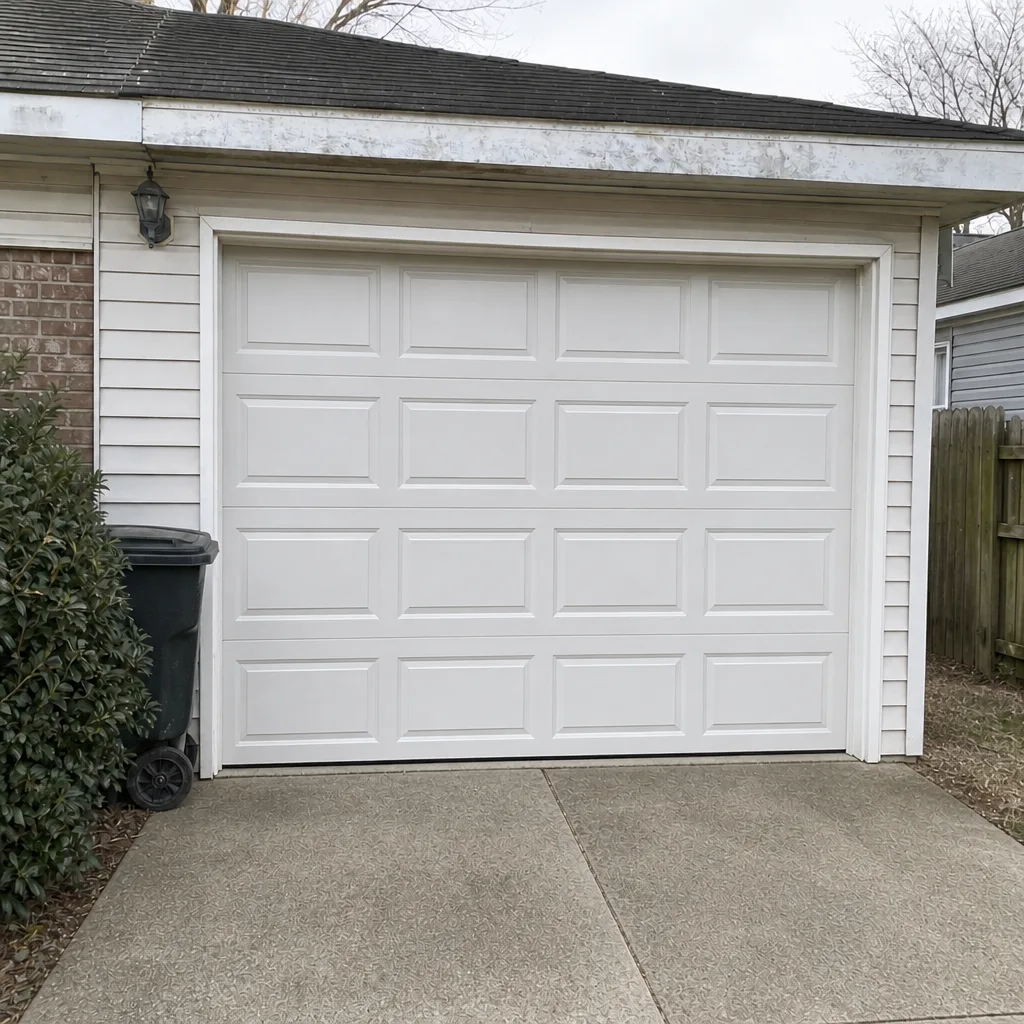 After
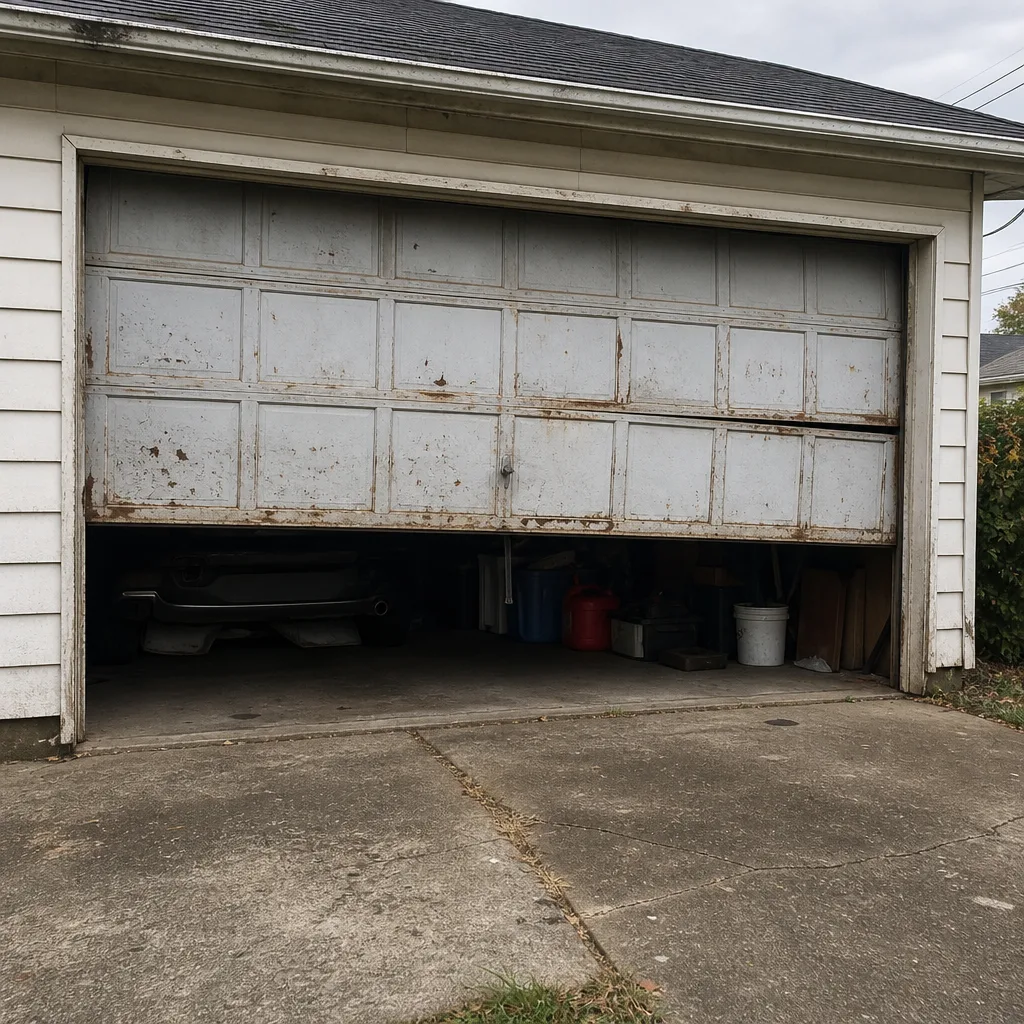 Before
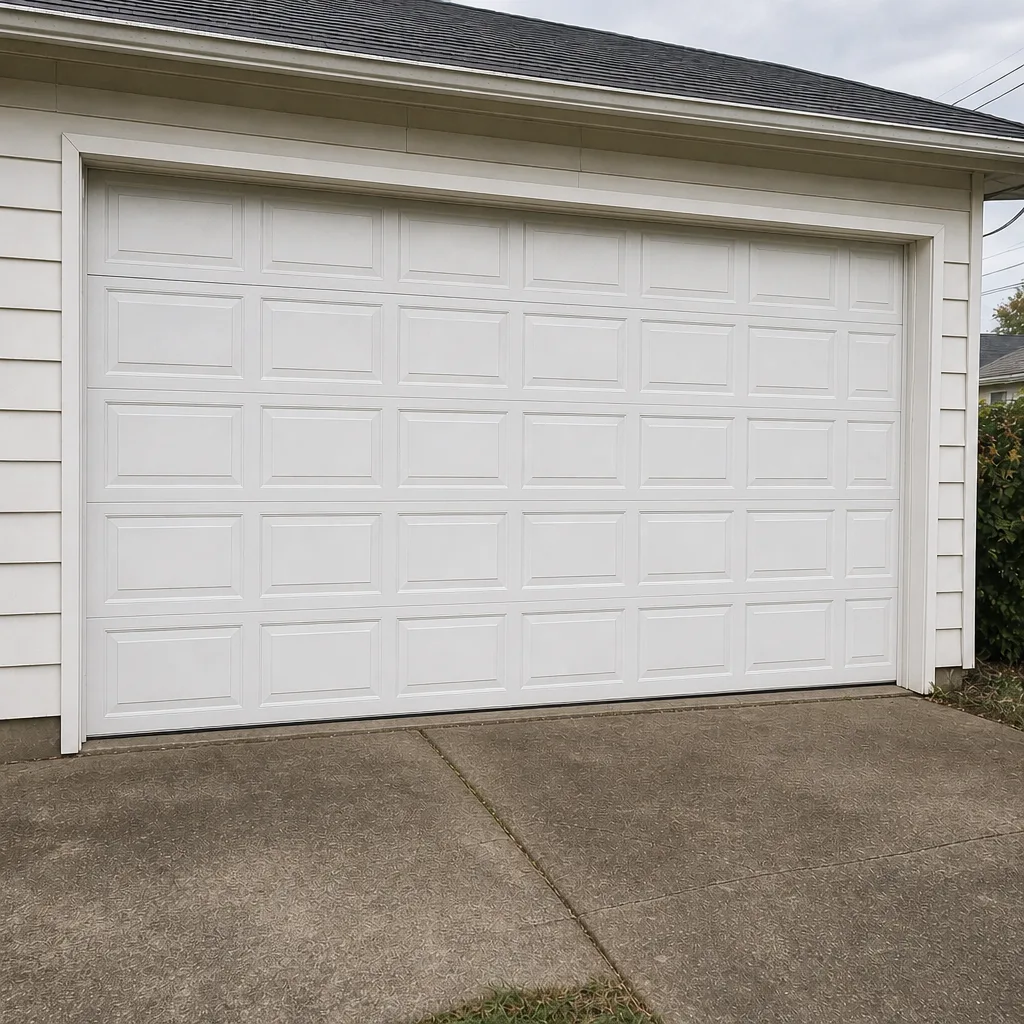 After
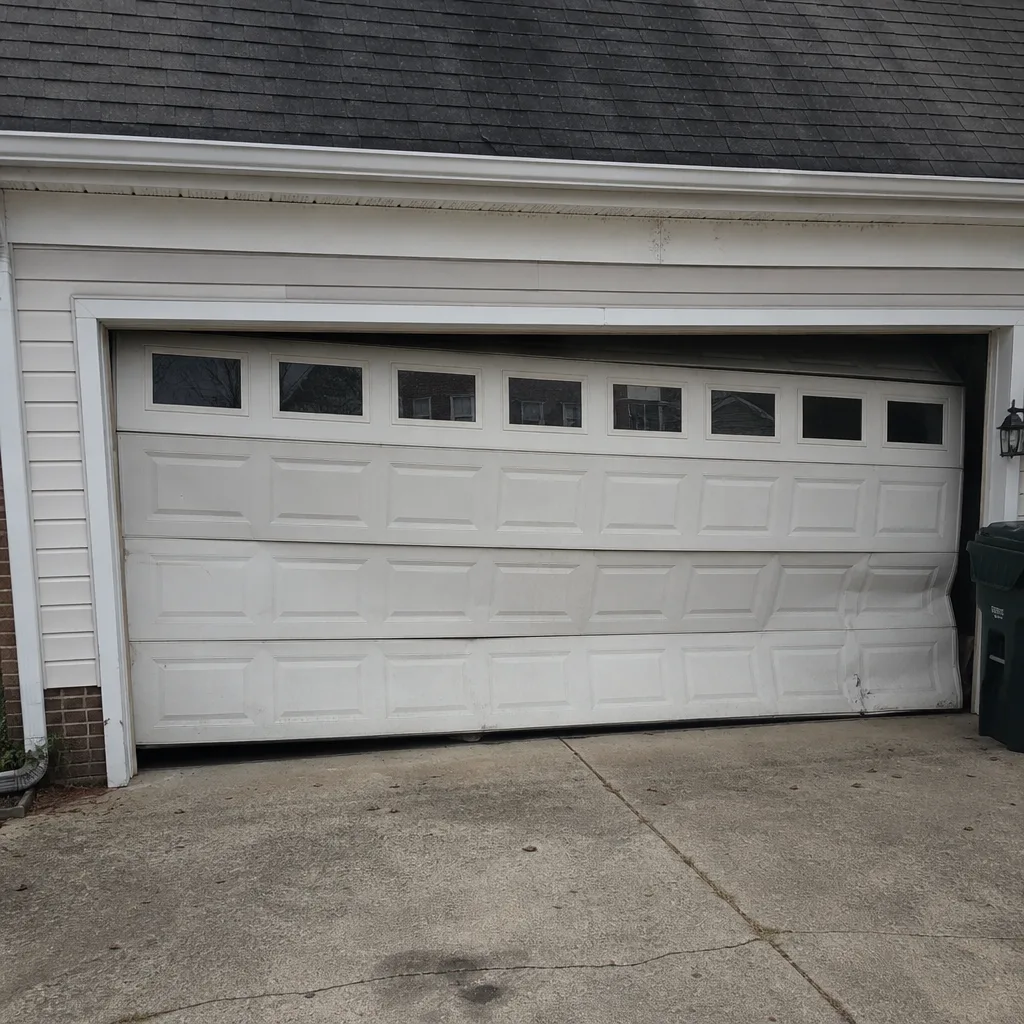 Before
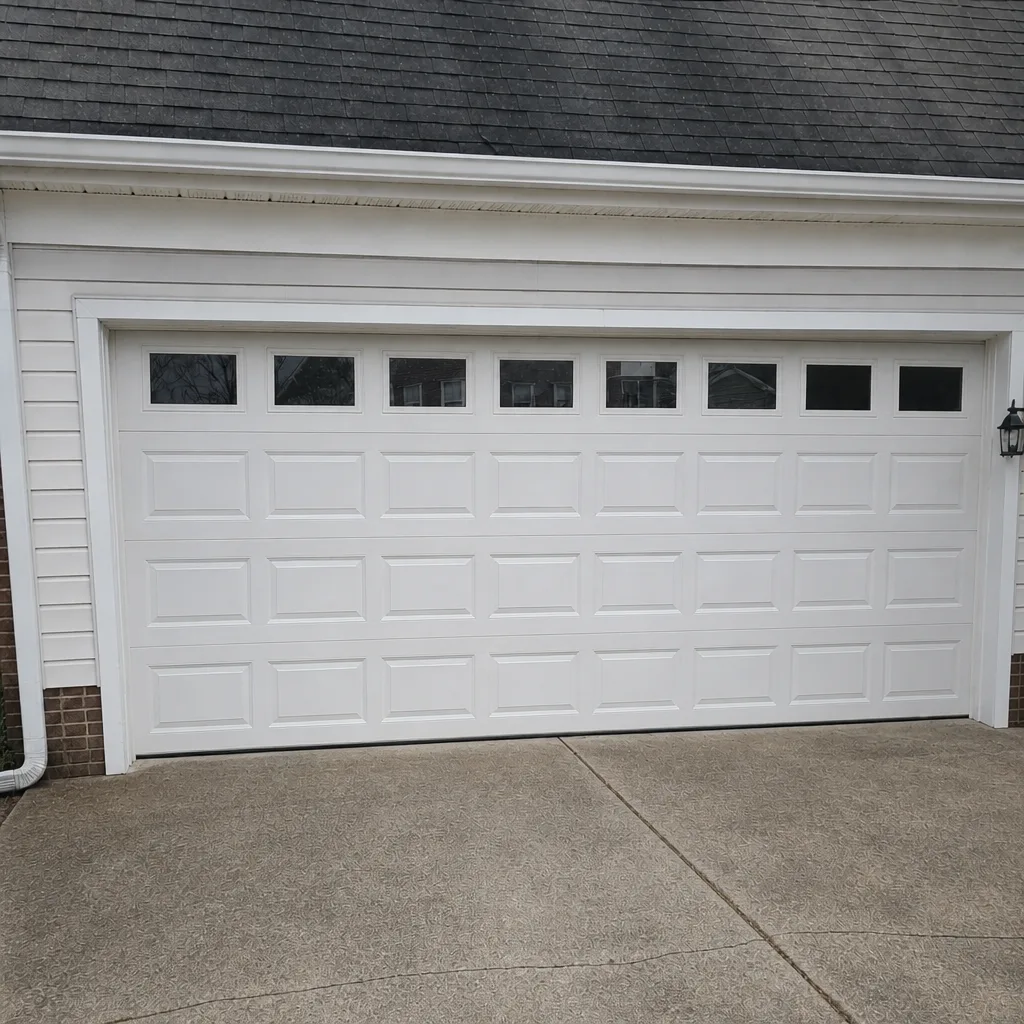 After